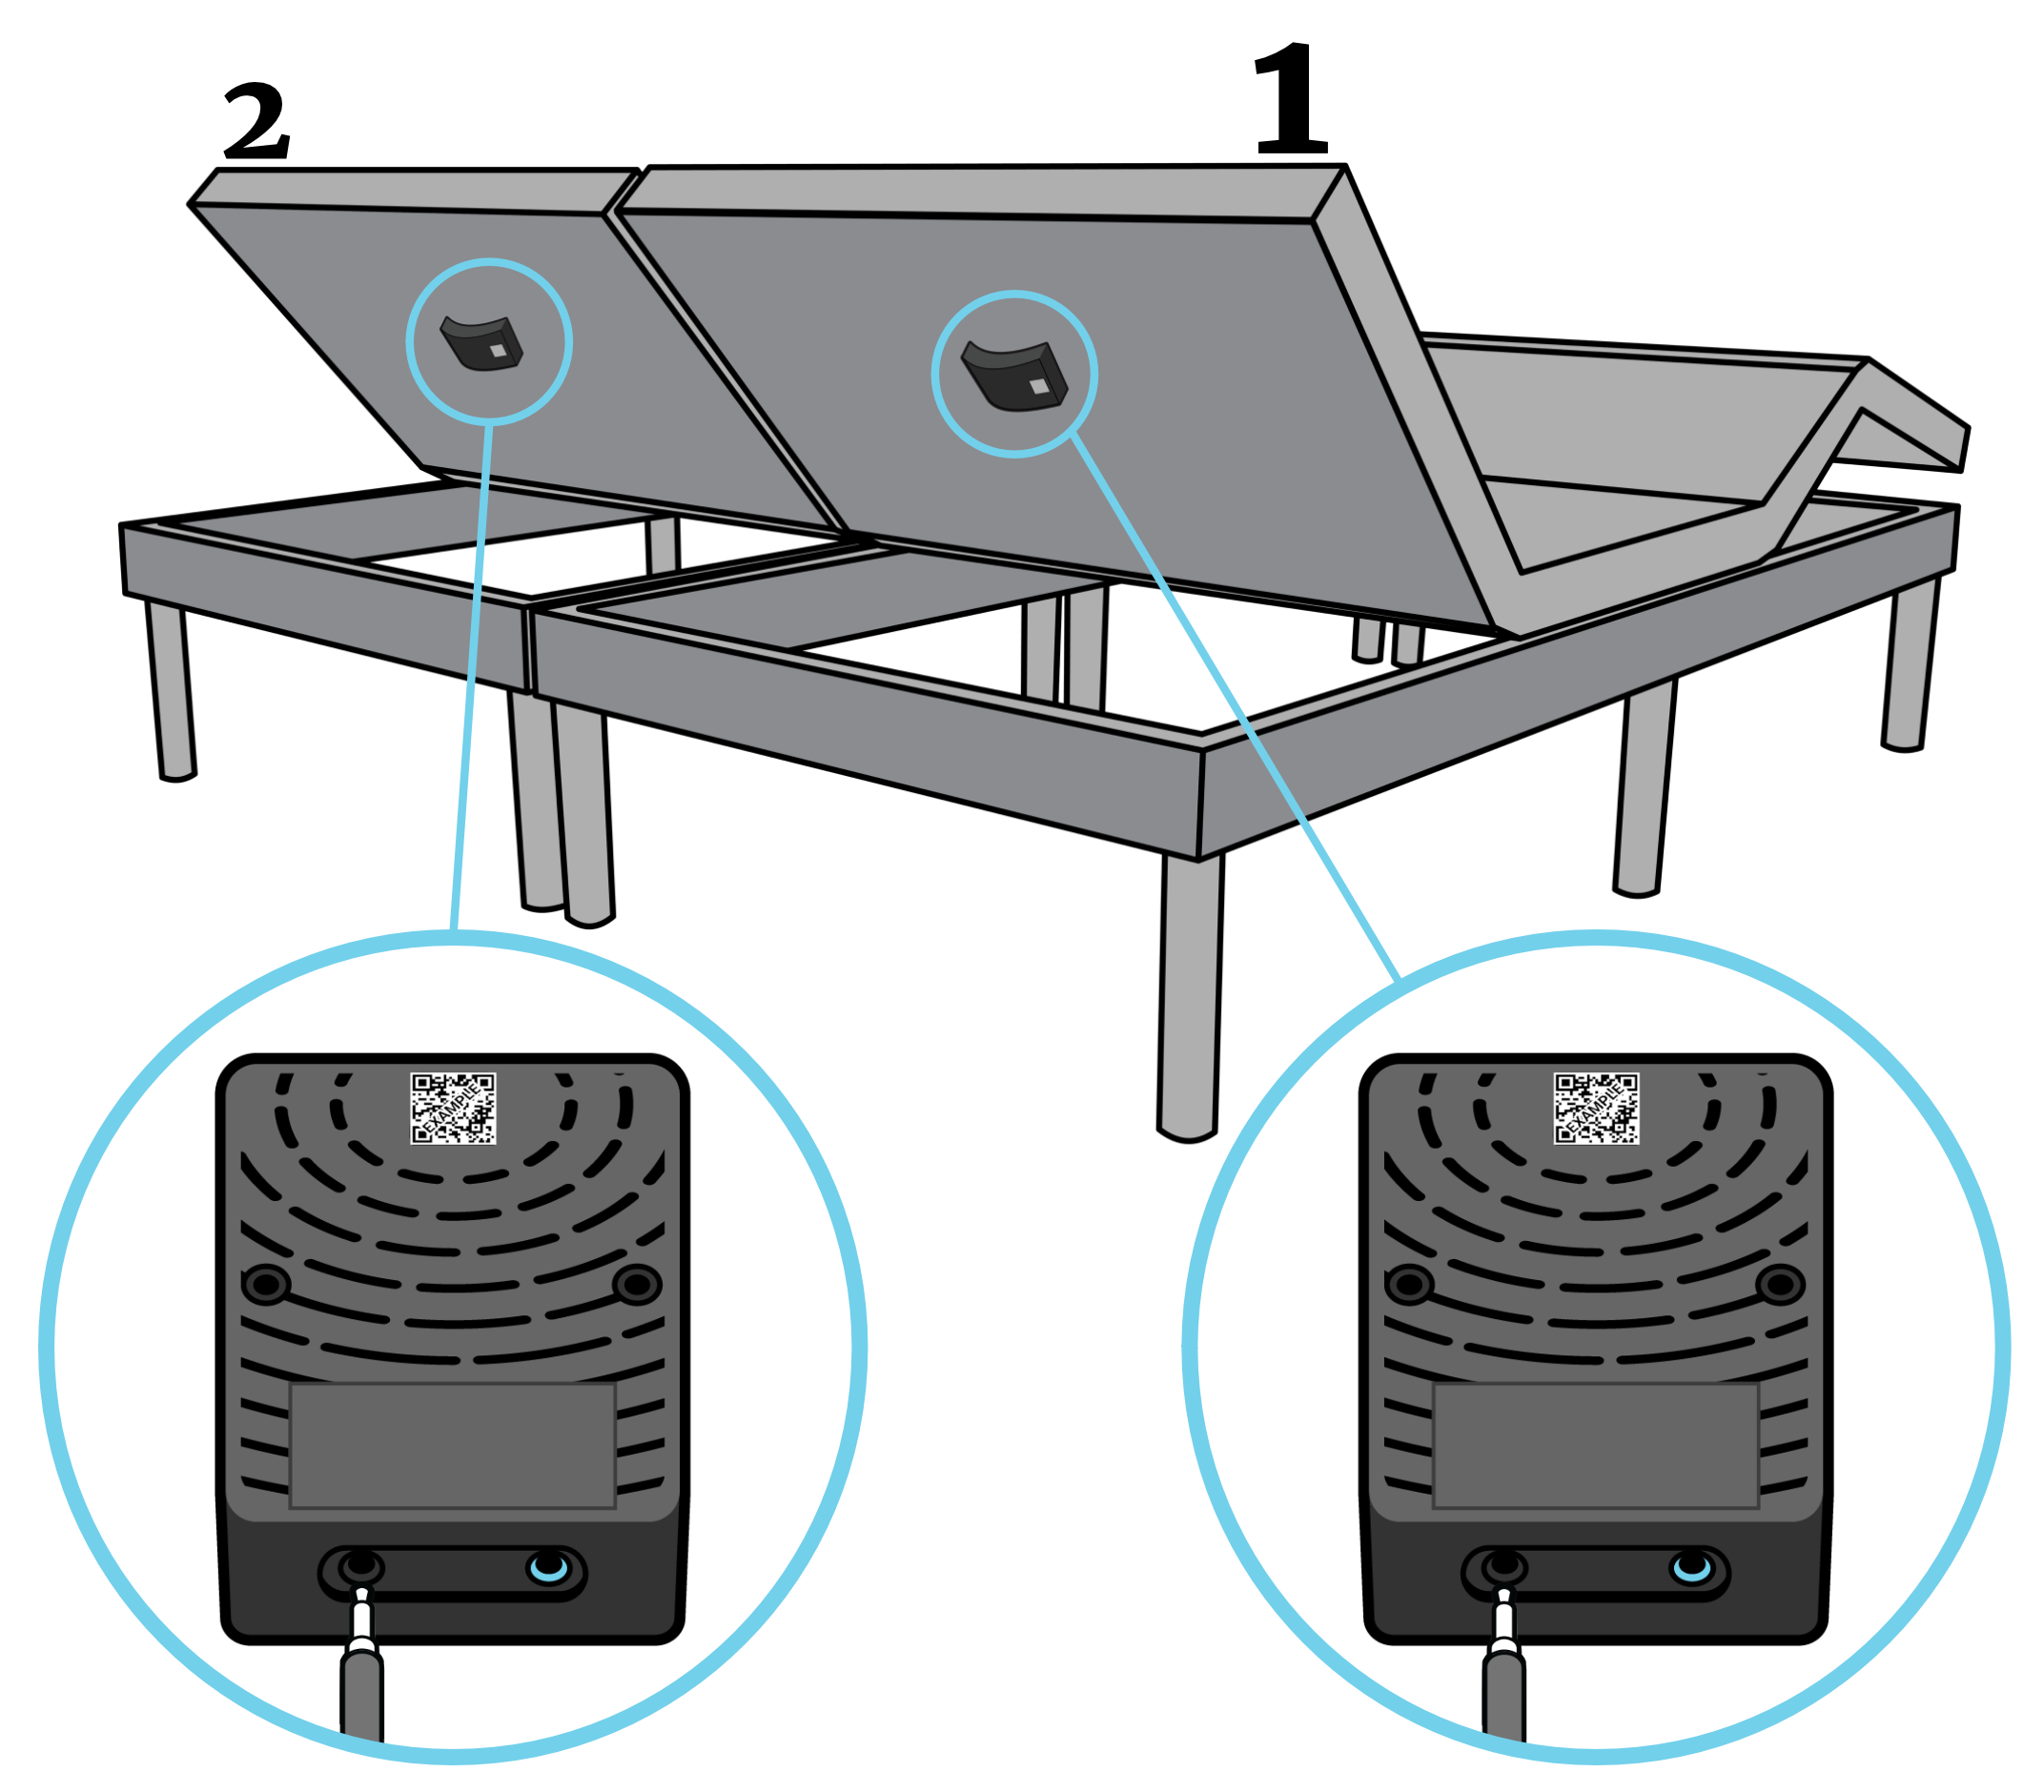
Step 1: Locate
Review the Hardware Overview Guide.
Your sensors are located in the sensor pockets at the head of the base. Using your remote, raise the head of the base all the way up to make the sensor pockets easier to locate. It may also help to remove the mattress retainer bar at the foot of the bed, and then slide the mattress down a bit.
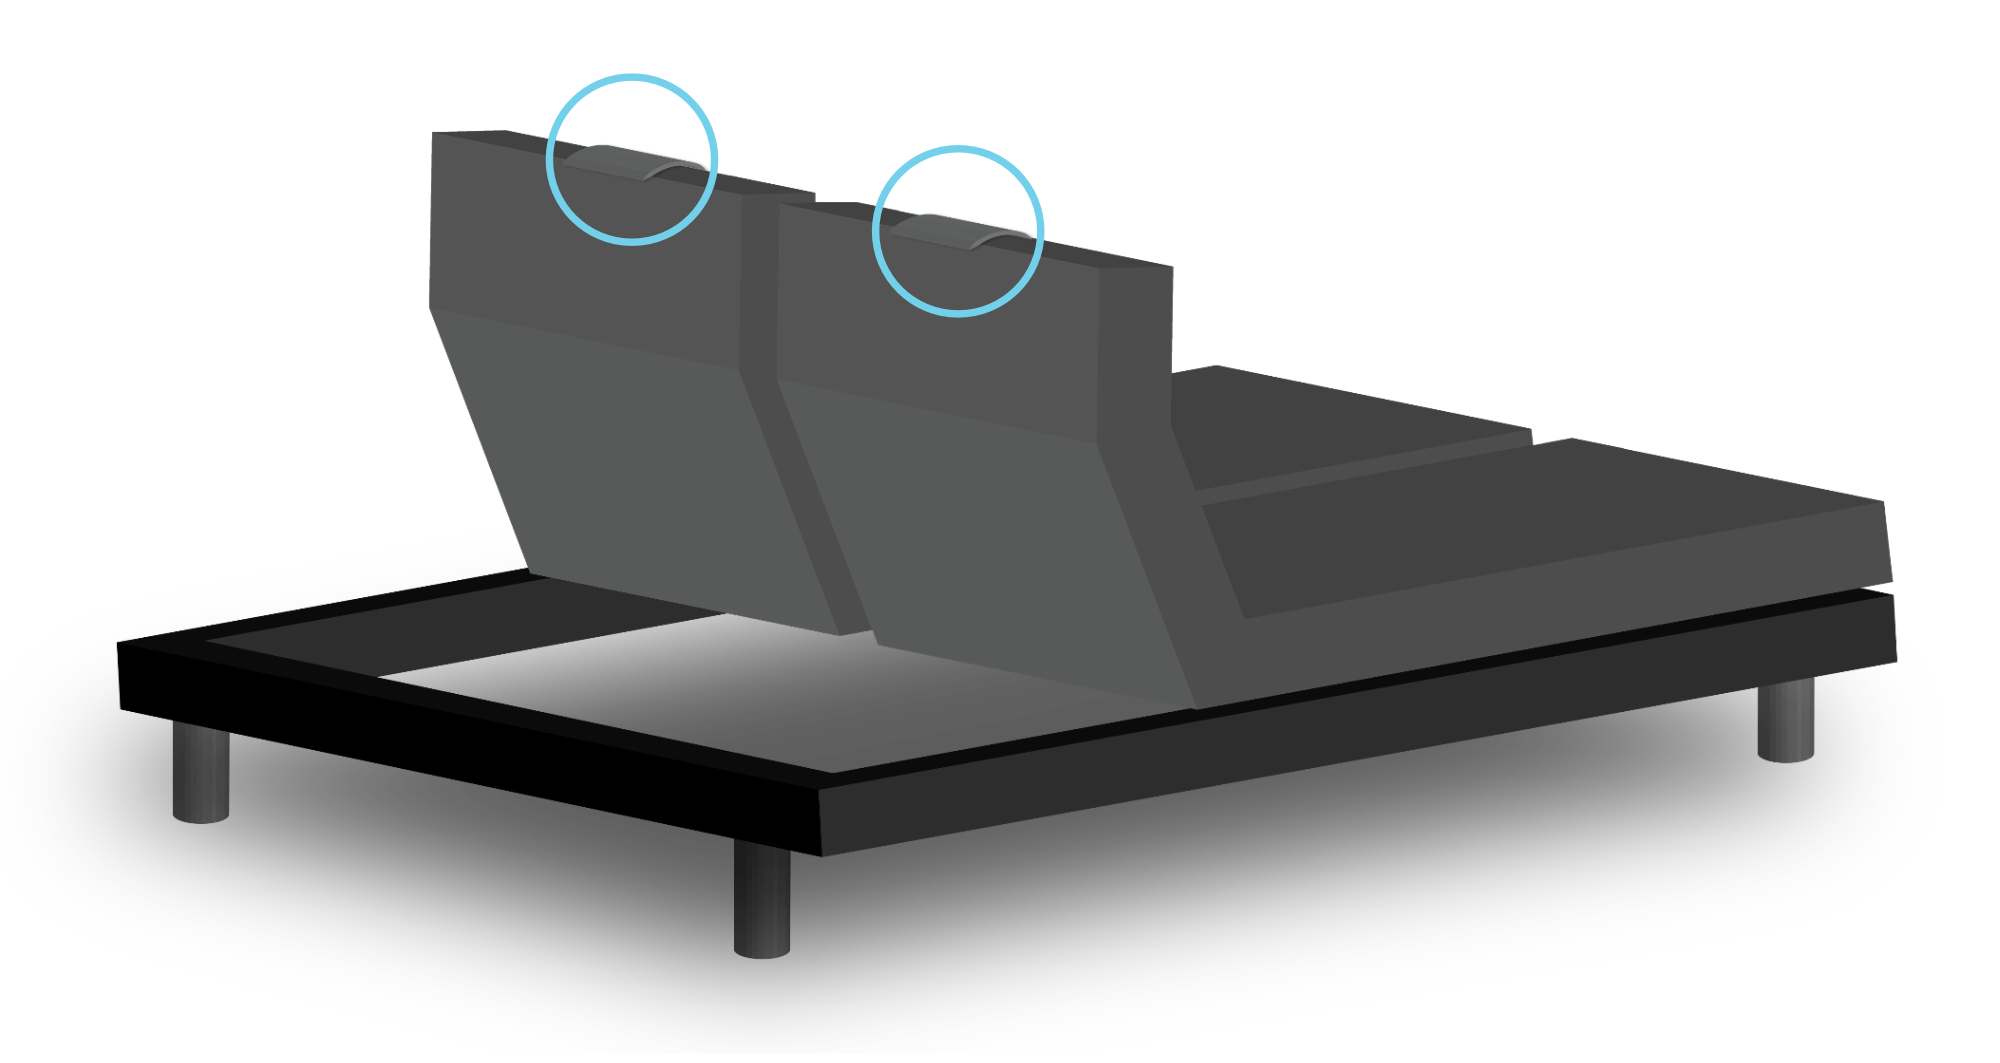
Step 2: Remove
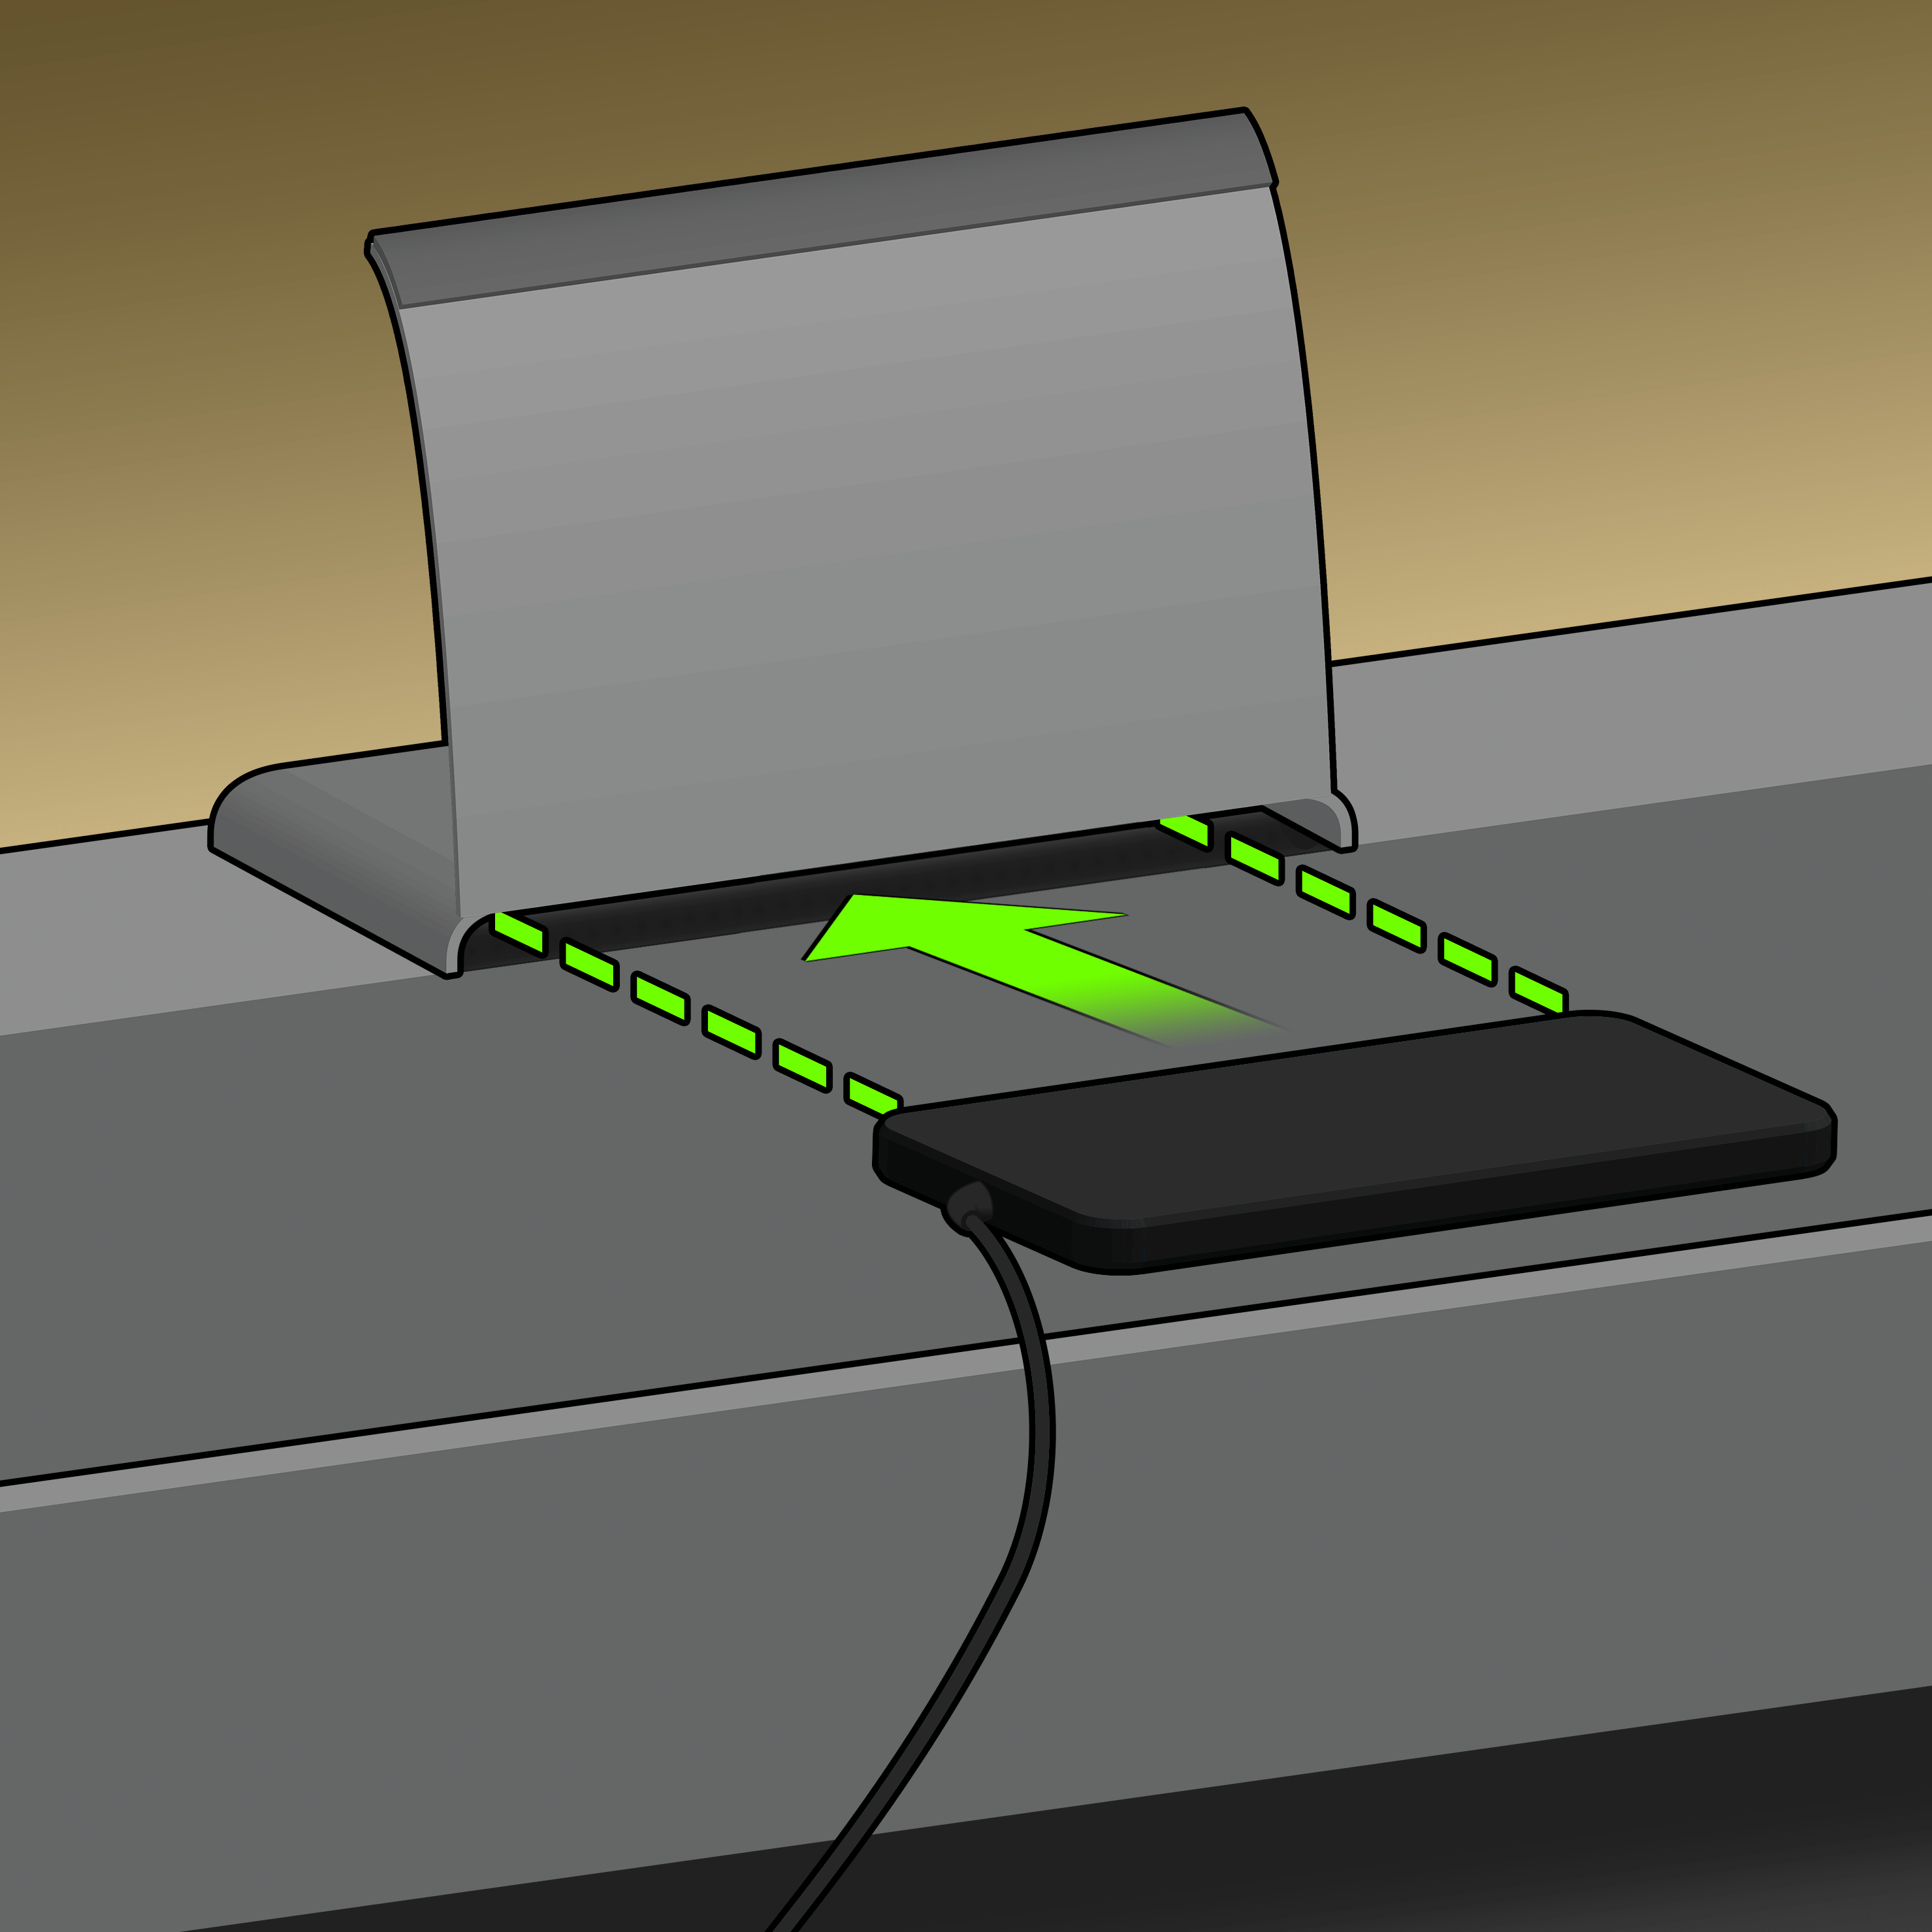
Open the sensor pocket and remove the sensor that you will be replacing.
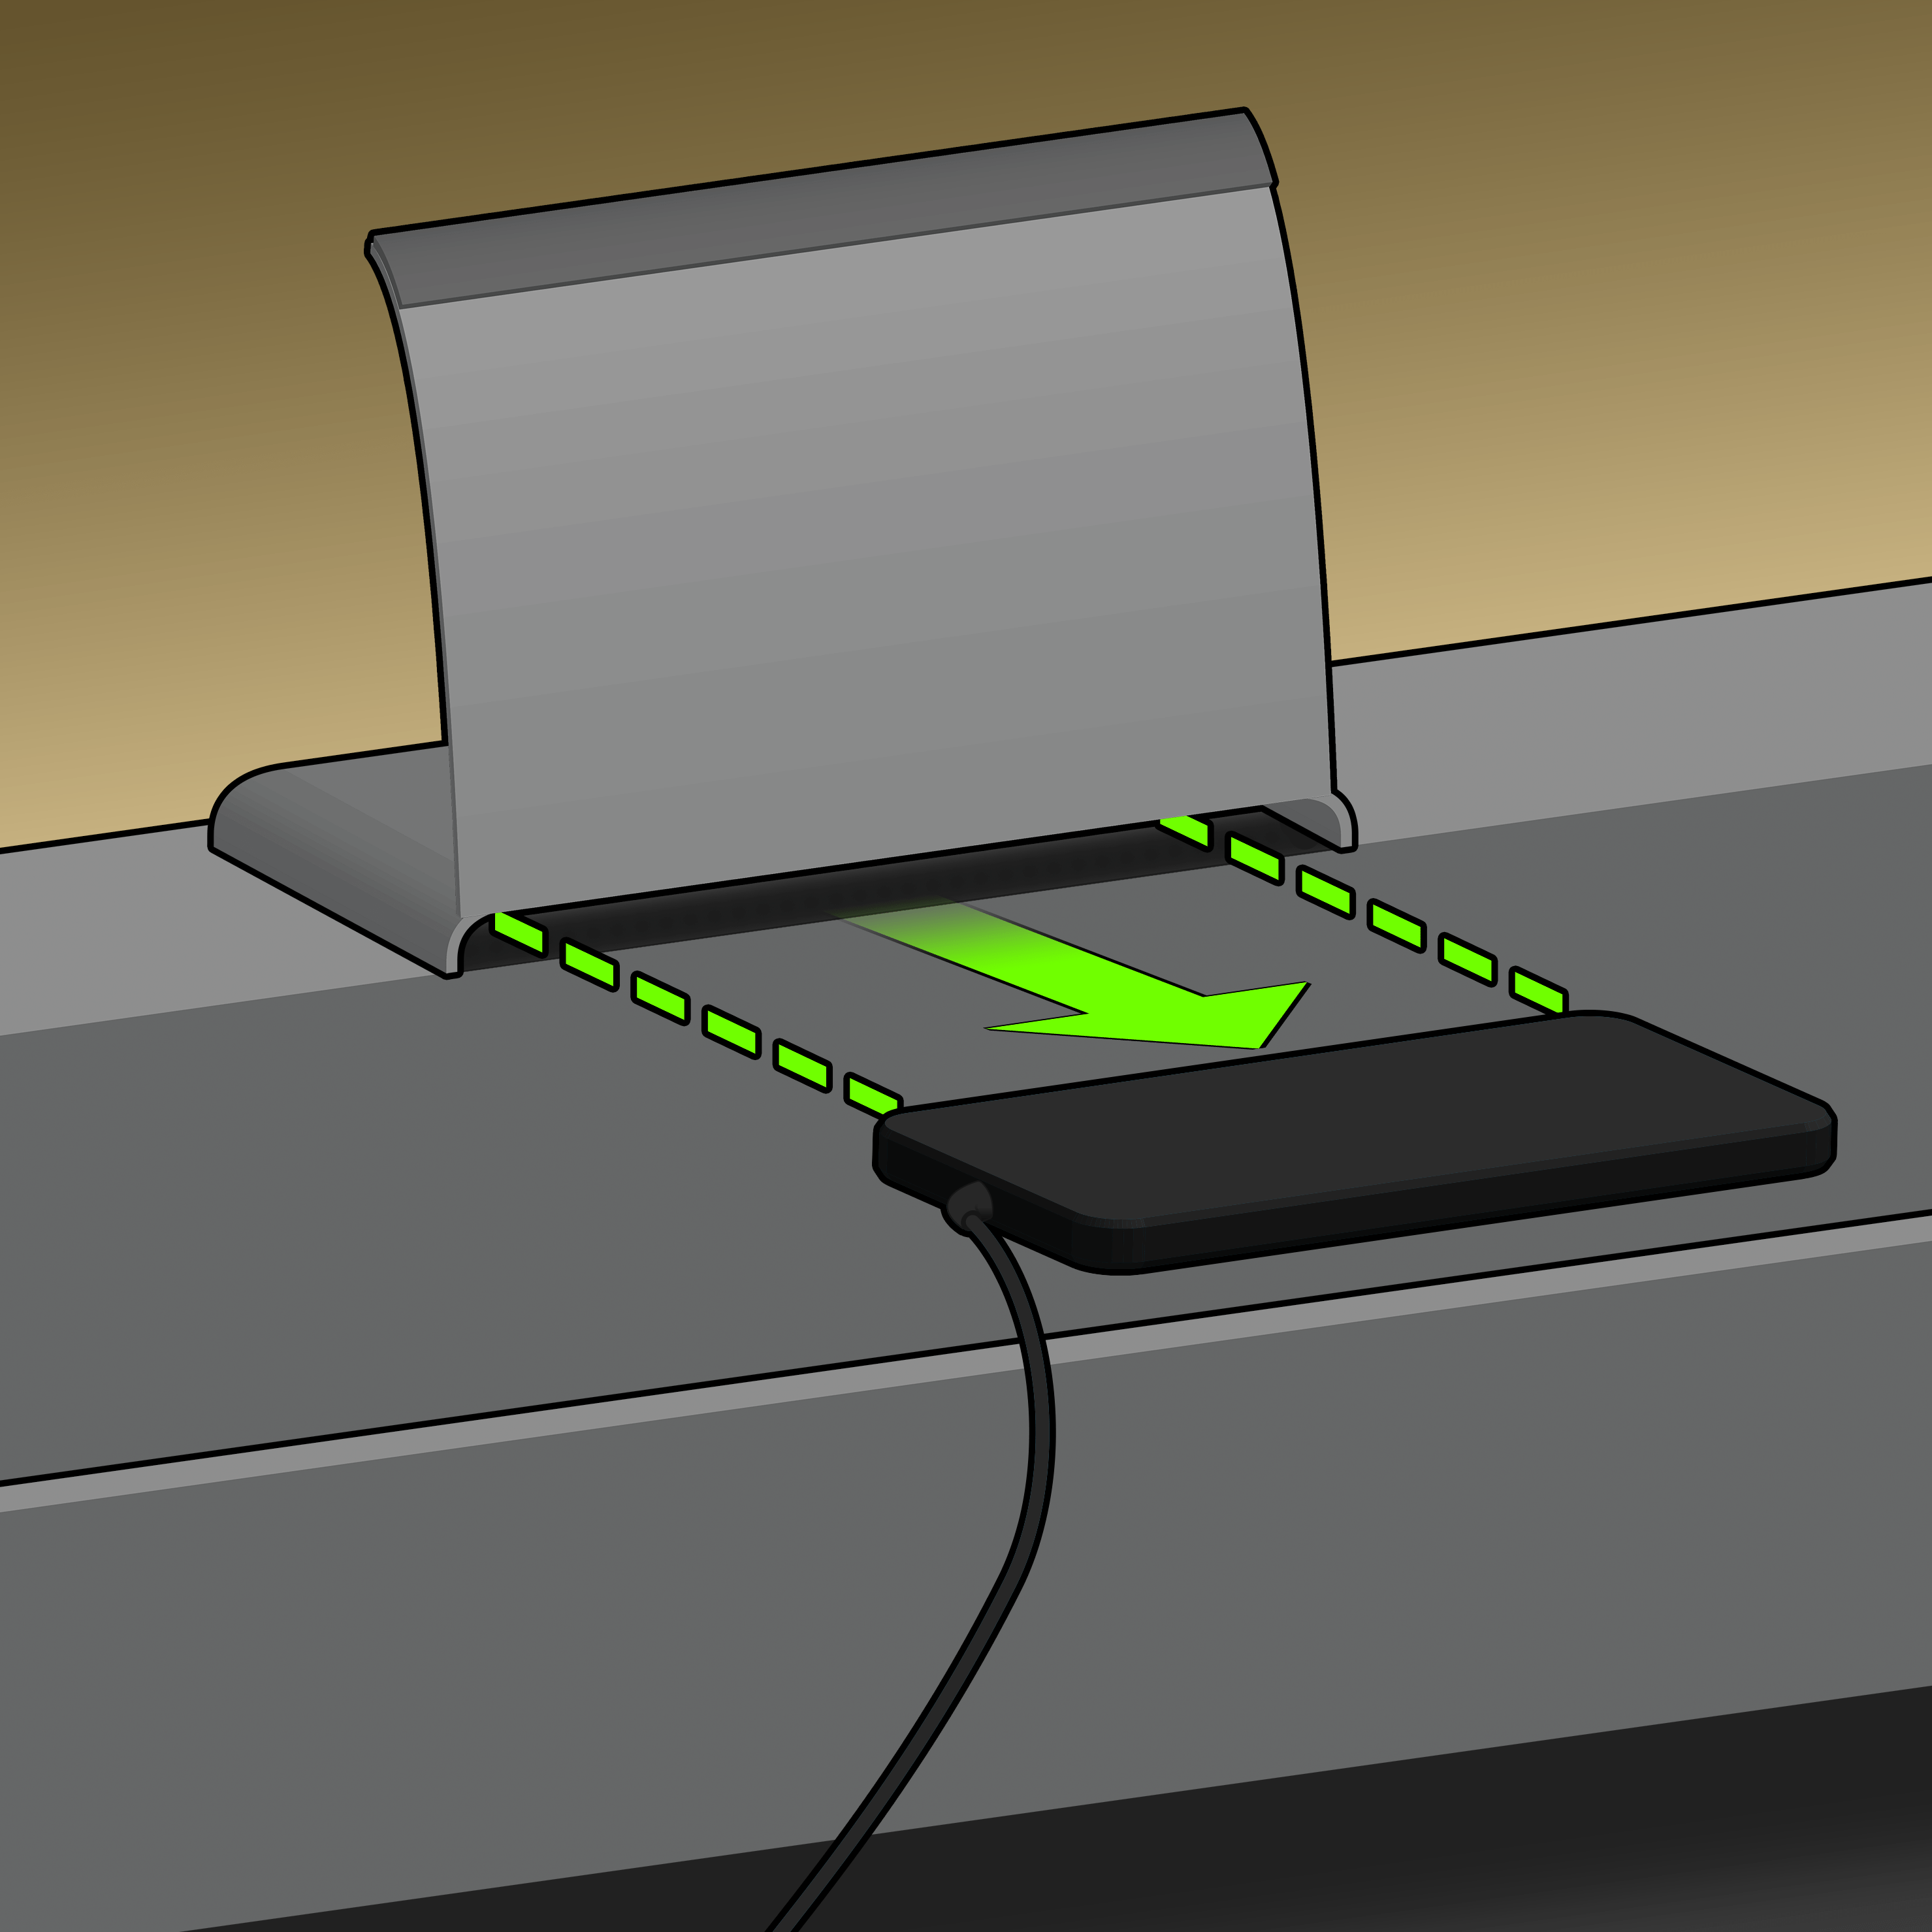
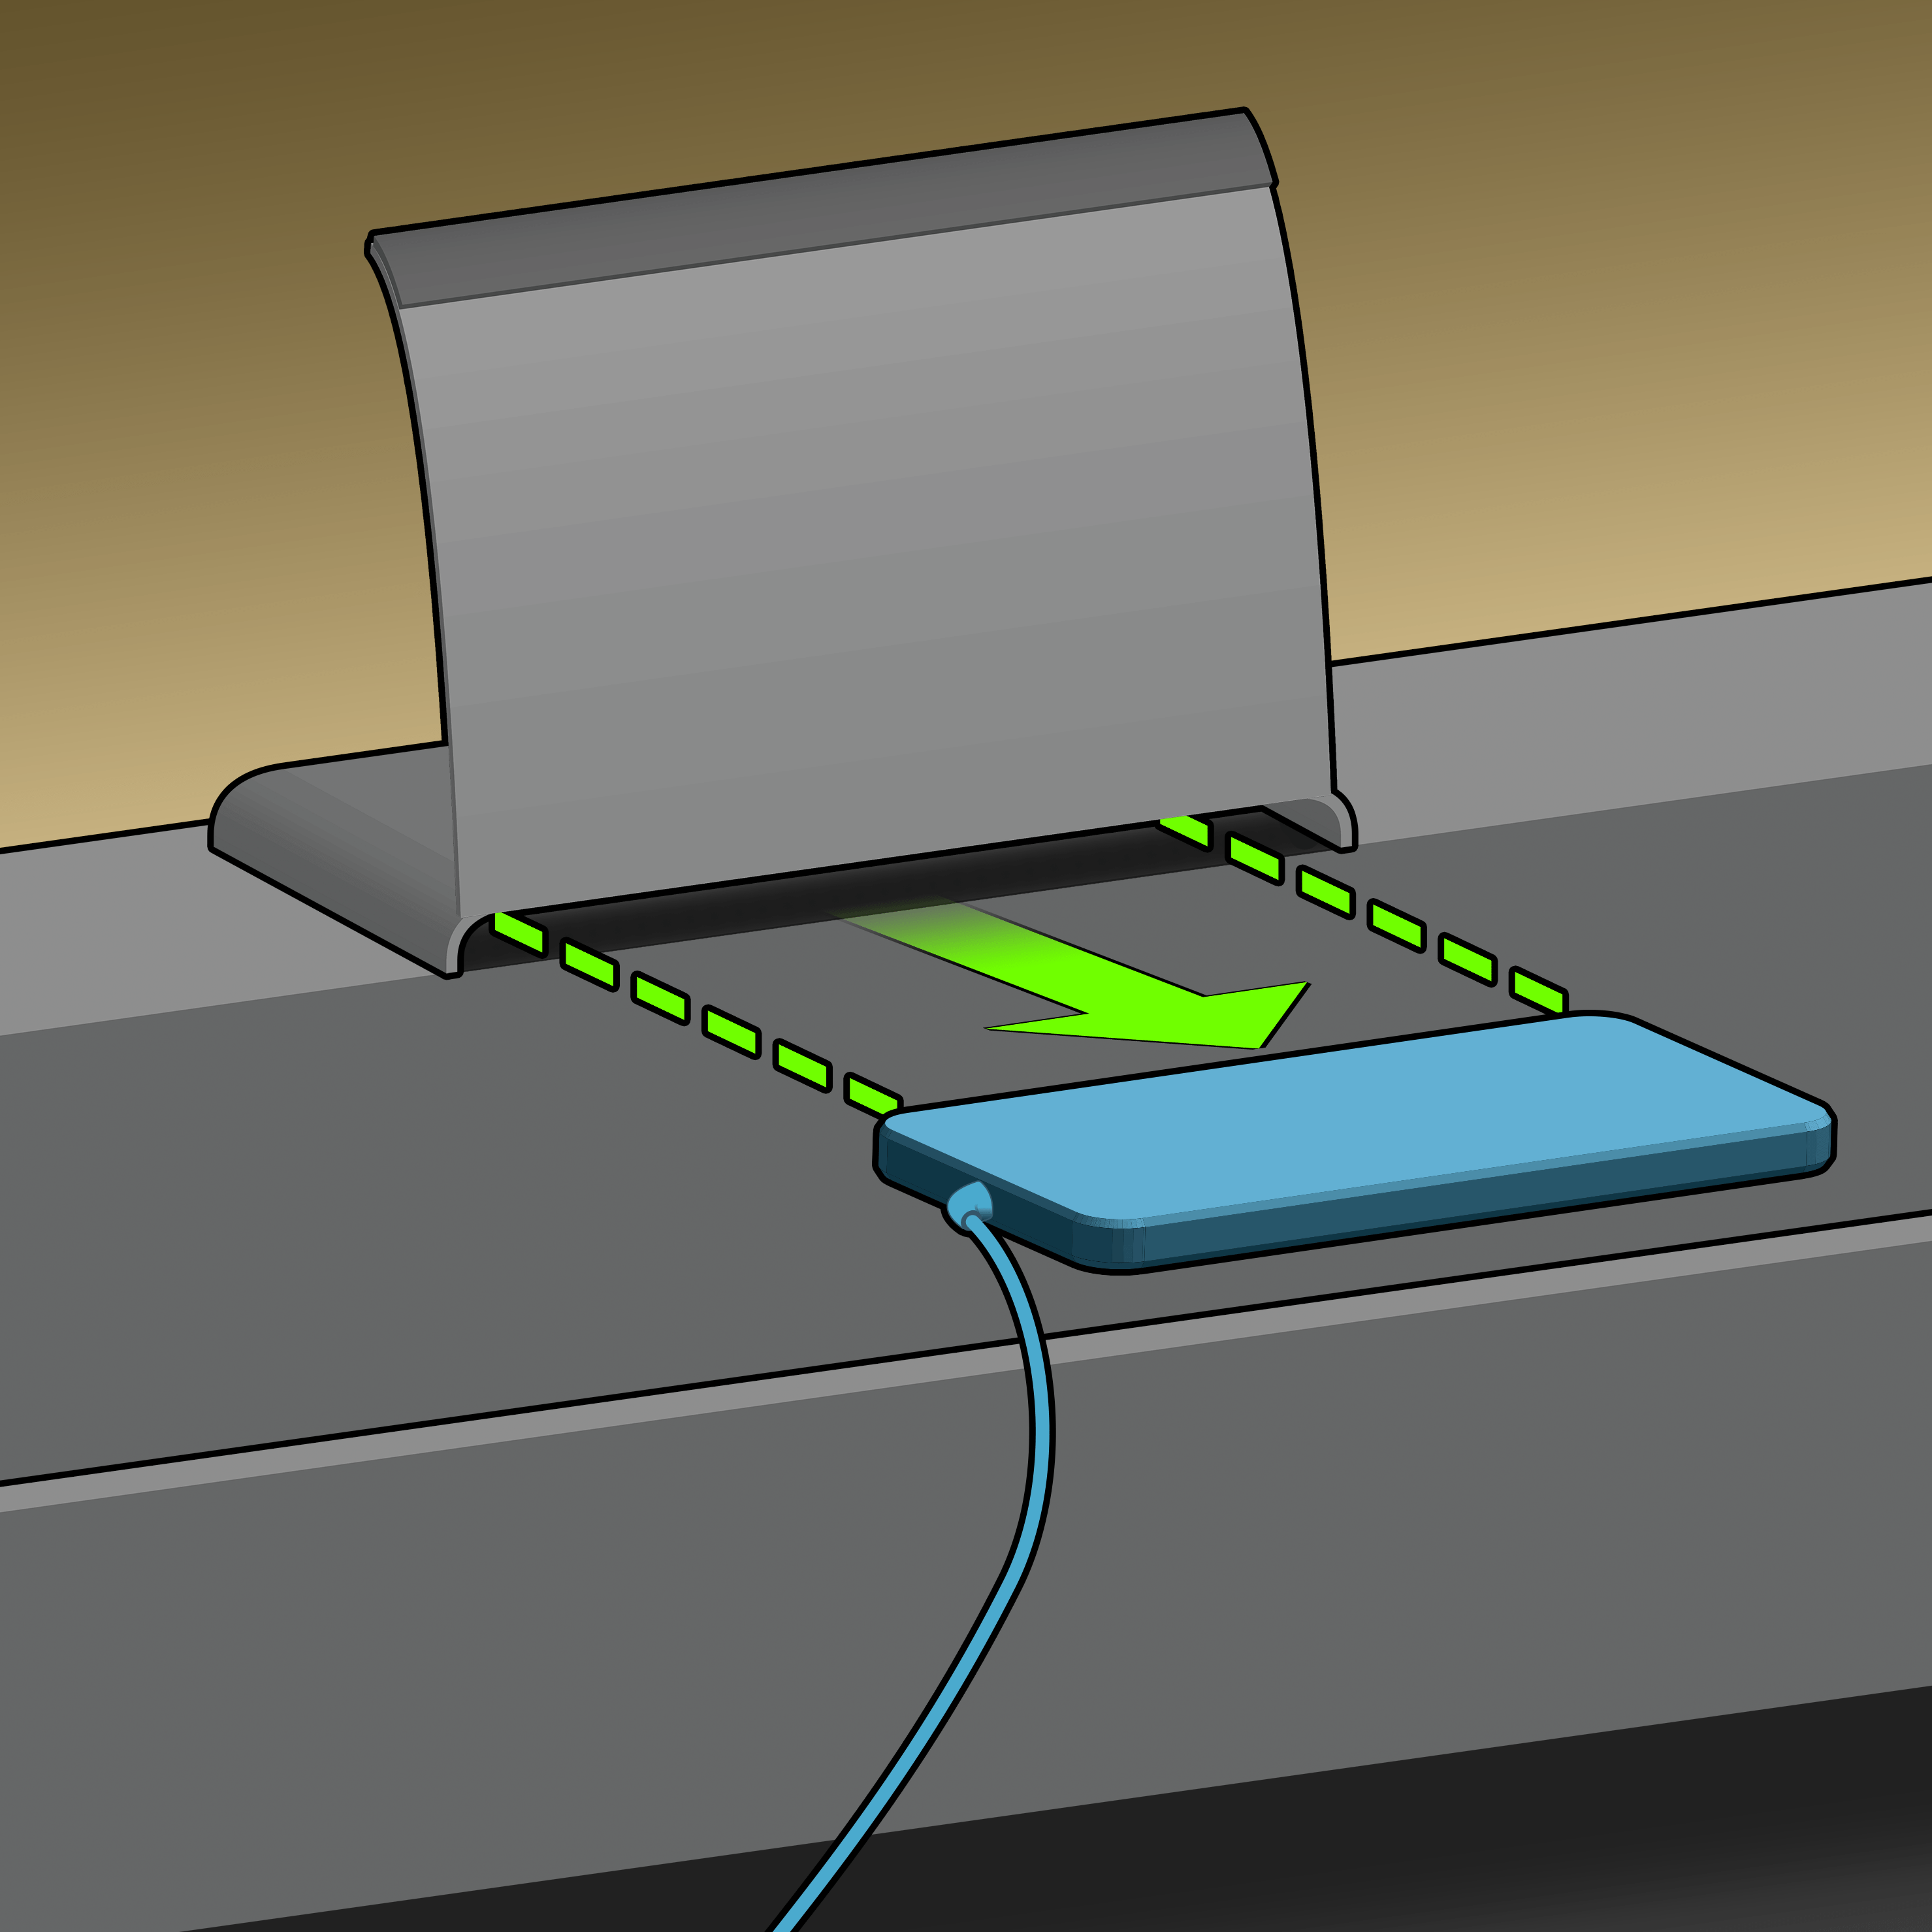
Step 3: Unplug
Remove the sensor cable from the rubber conduits on the base, and unplug the sensor plug(s) from the processor.

Step 4: Install
Carefully install the new sensor into the sensor pocket, with the Sleeptracker-AI® logo facing up.
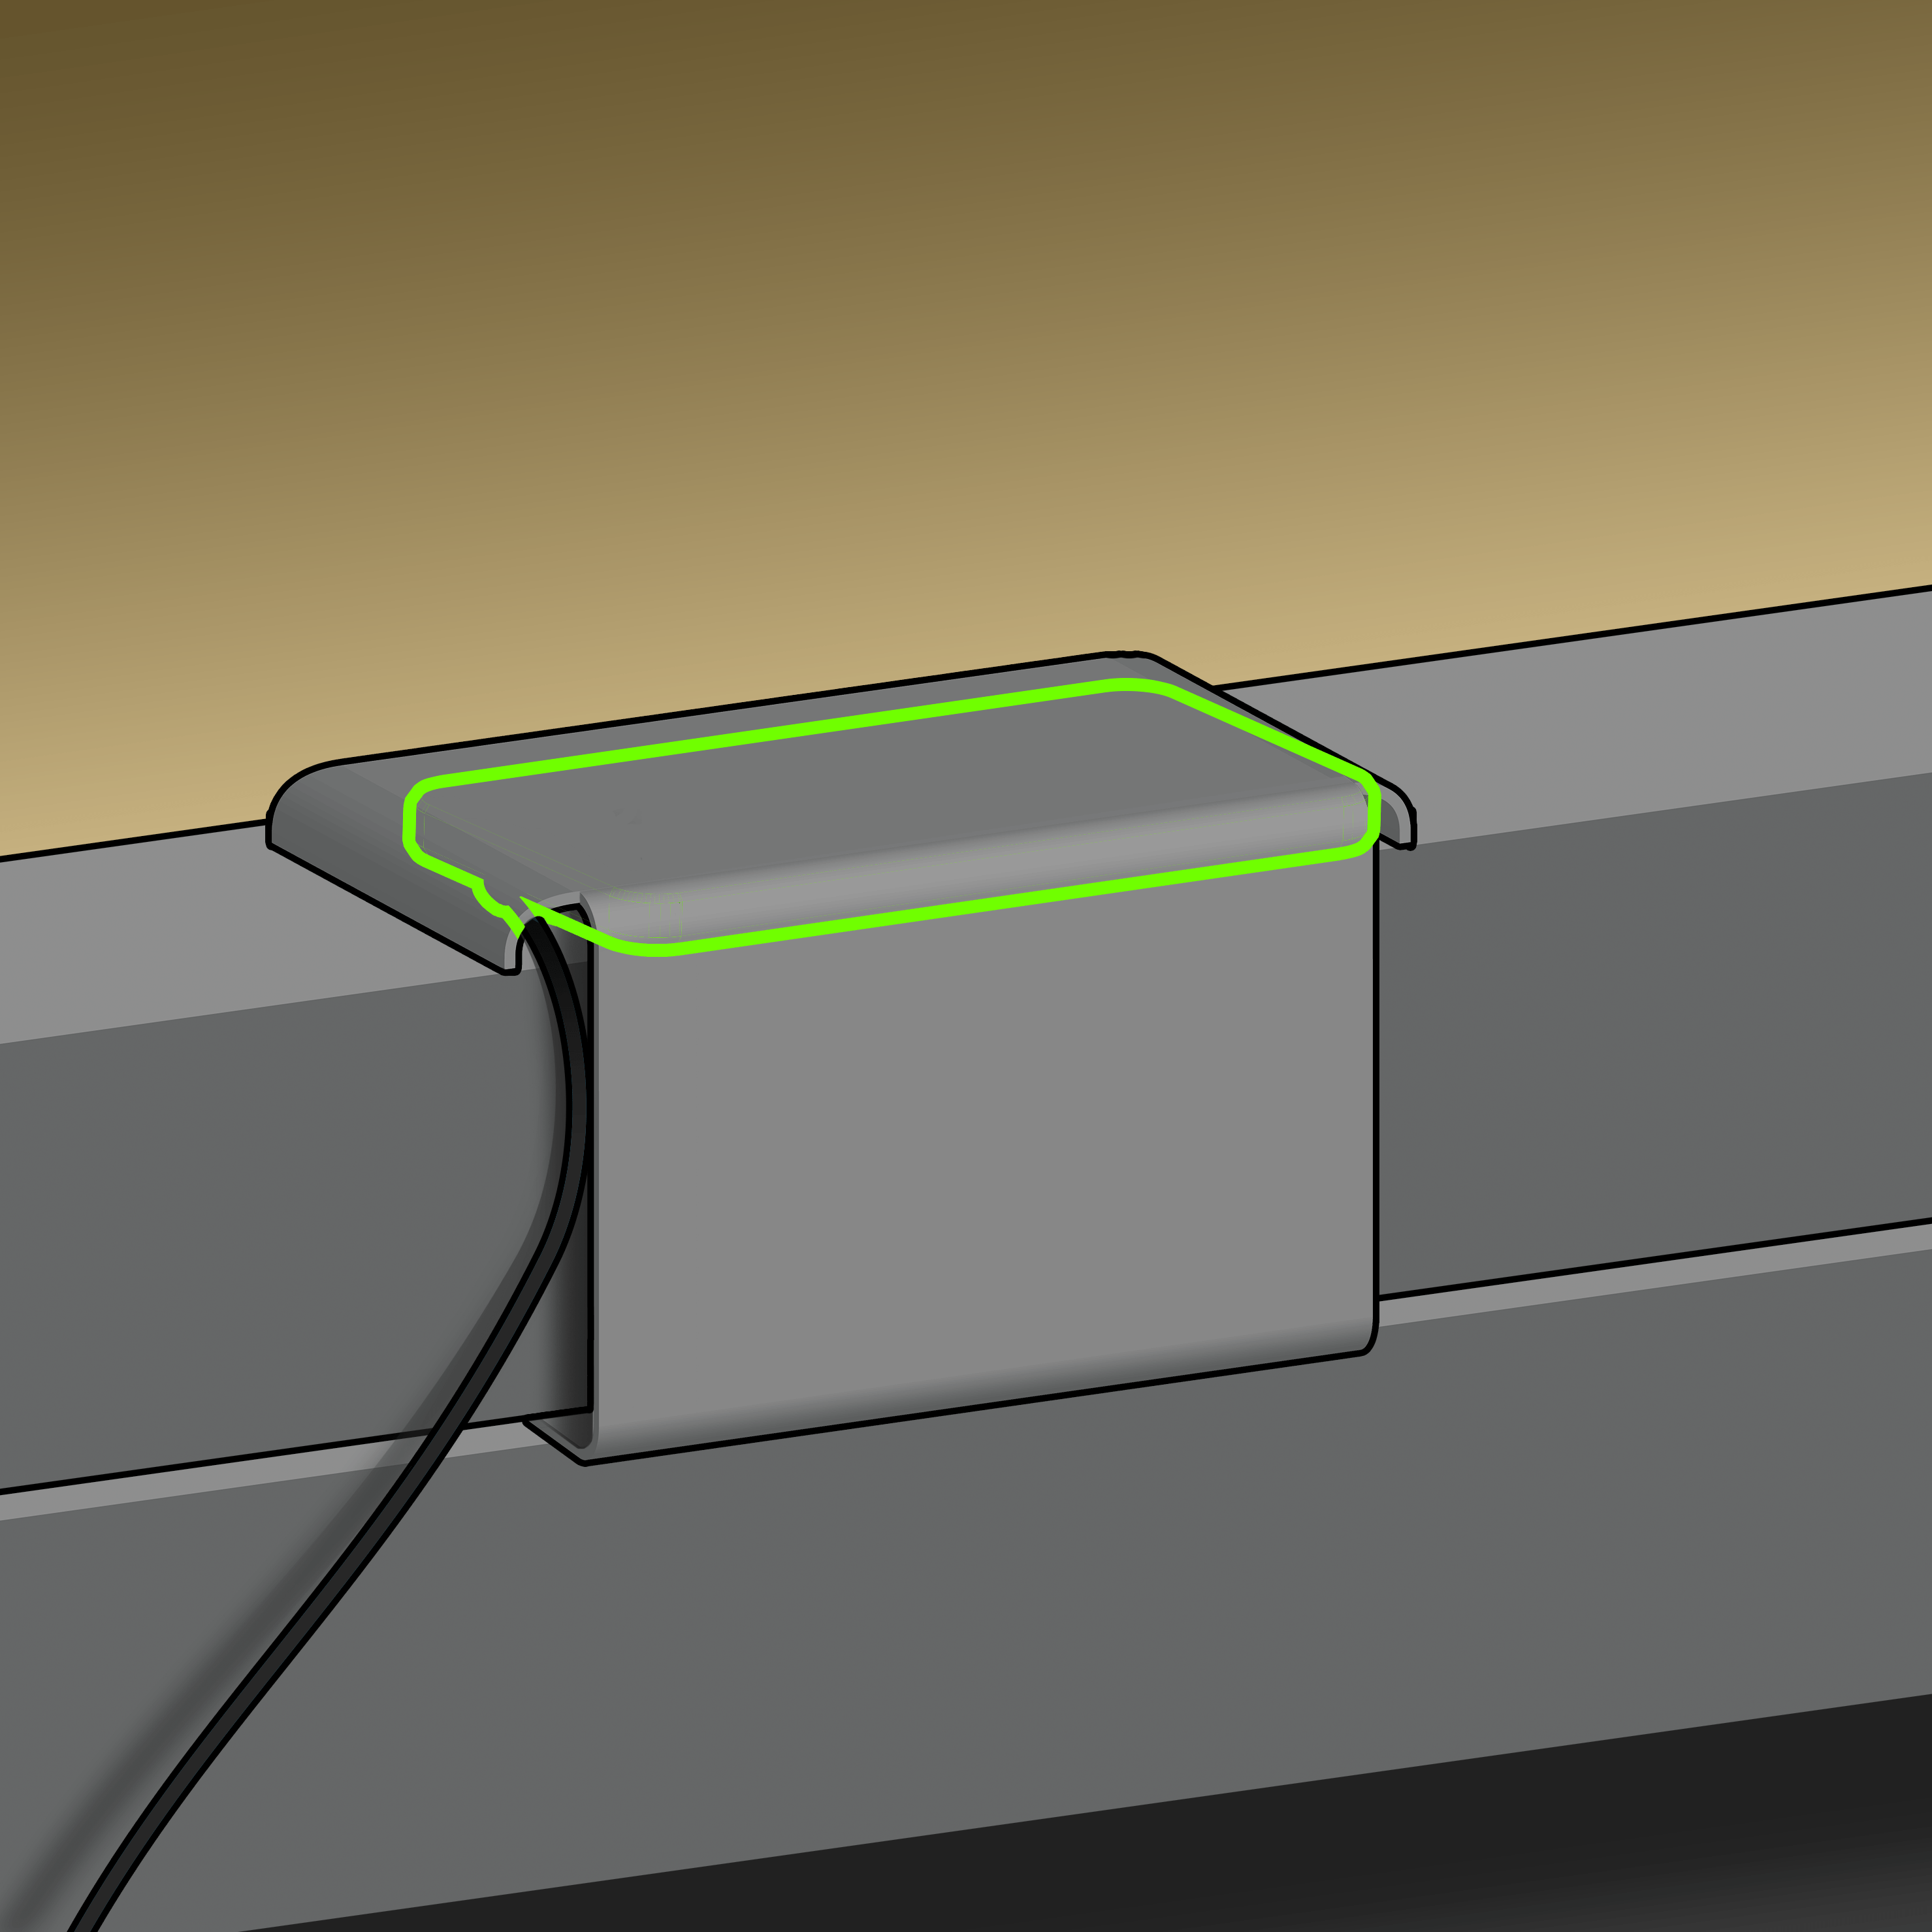
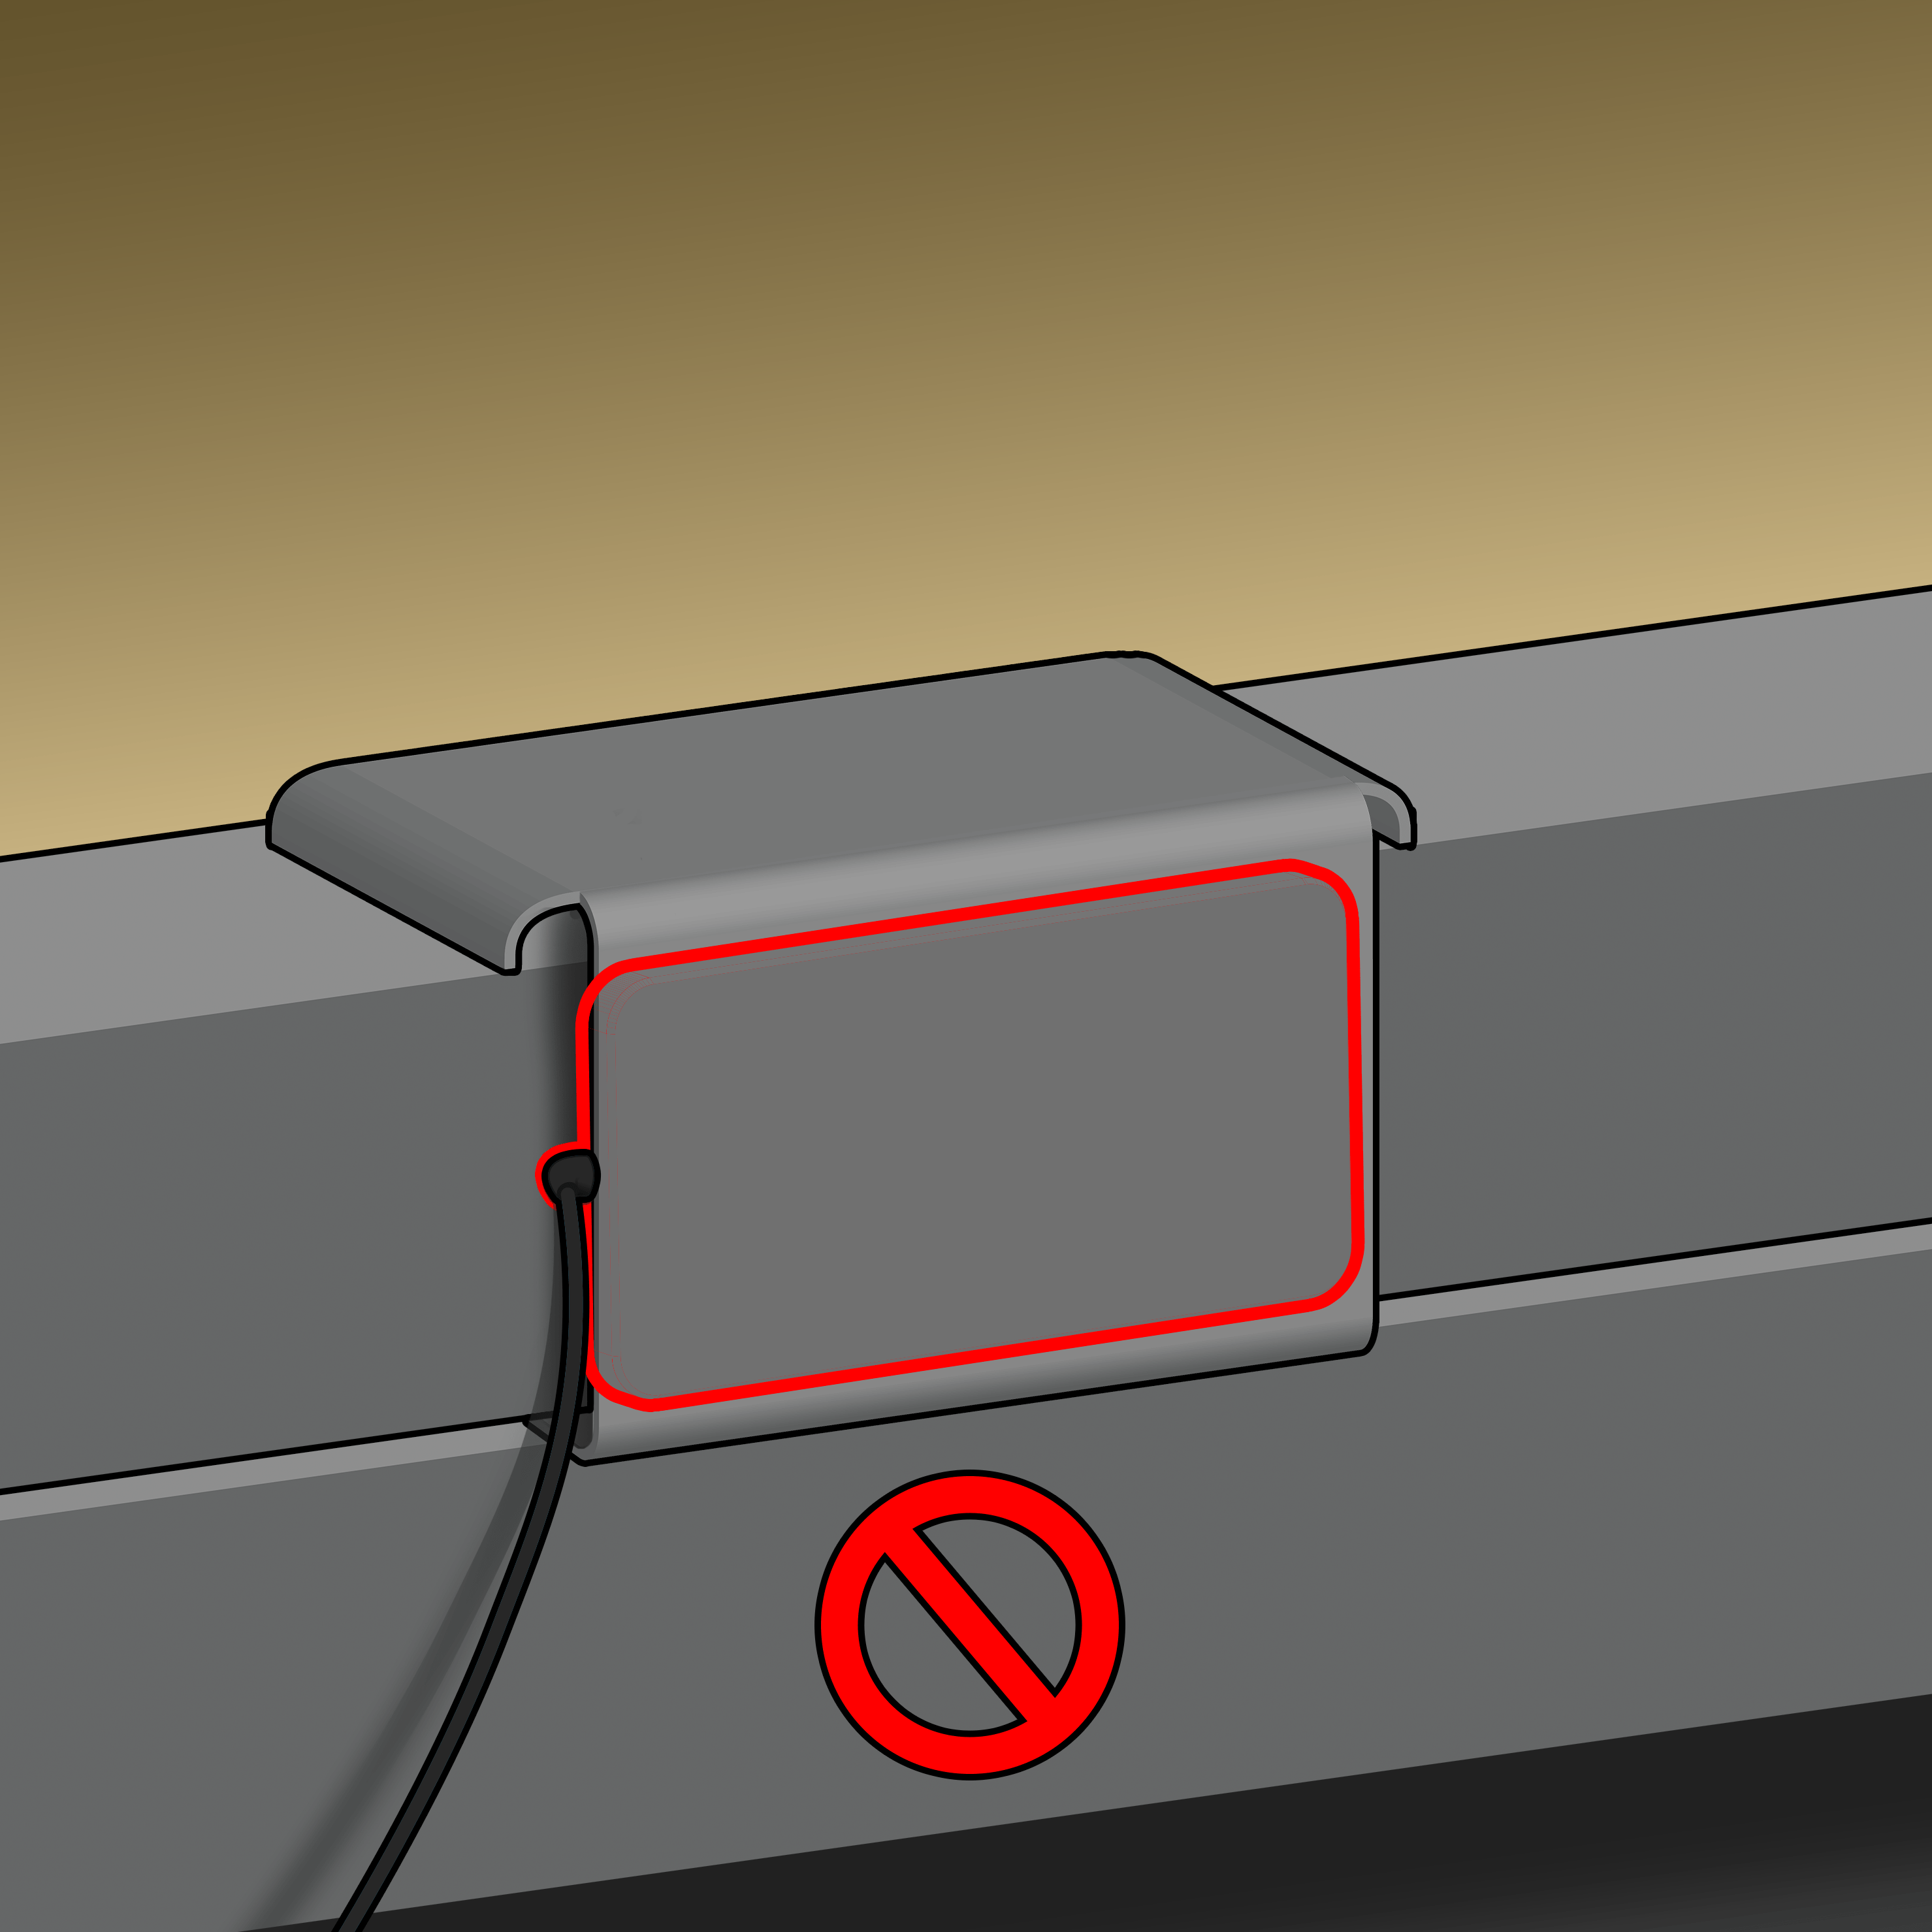
The sensor should not be tucked inside the flap (as shown below), instead it should be fully inside the pocket (as shown above) so the sensor can make contact with the mattress on top of it.
Route the sensor cable through the rubber conduits, so the cable does not get pinched when the base moves.
Step 5: Plug In
If your bed has one base:
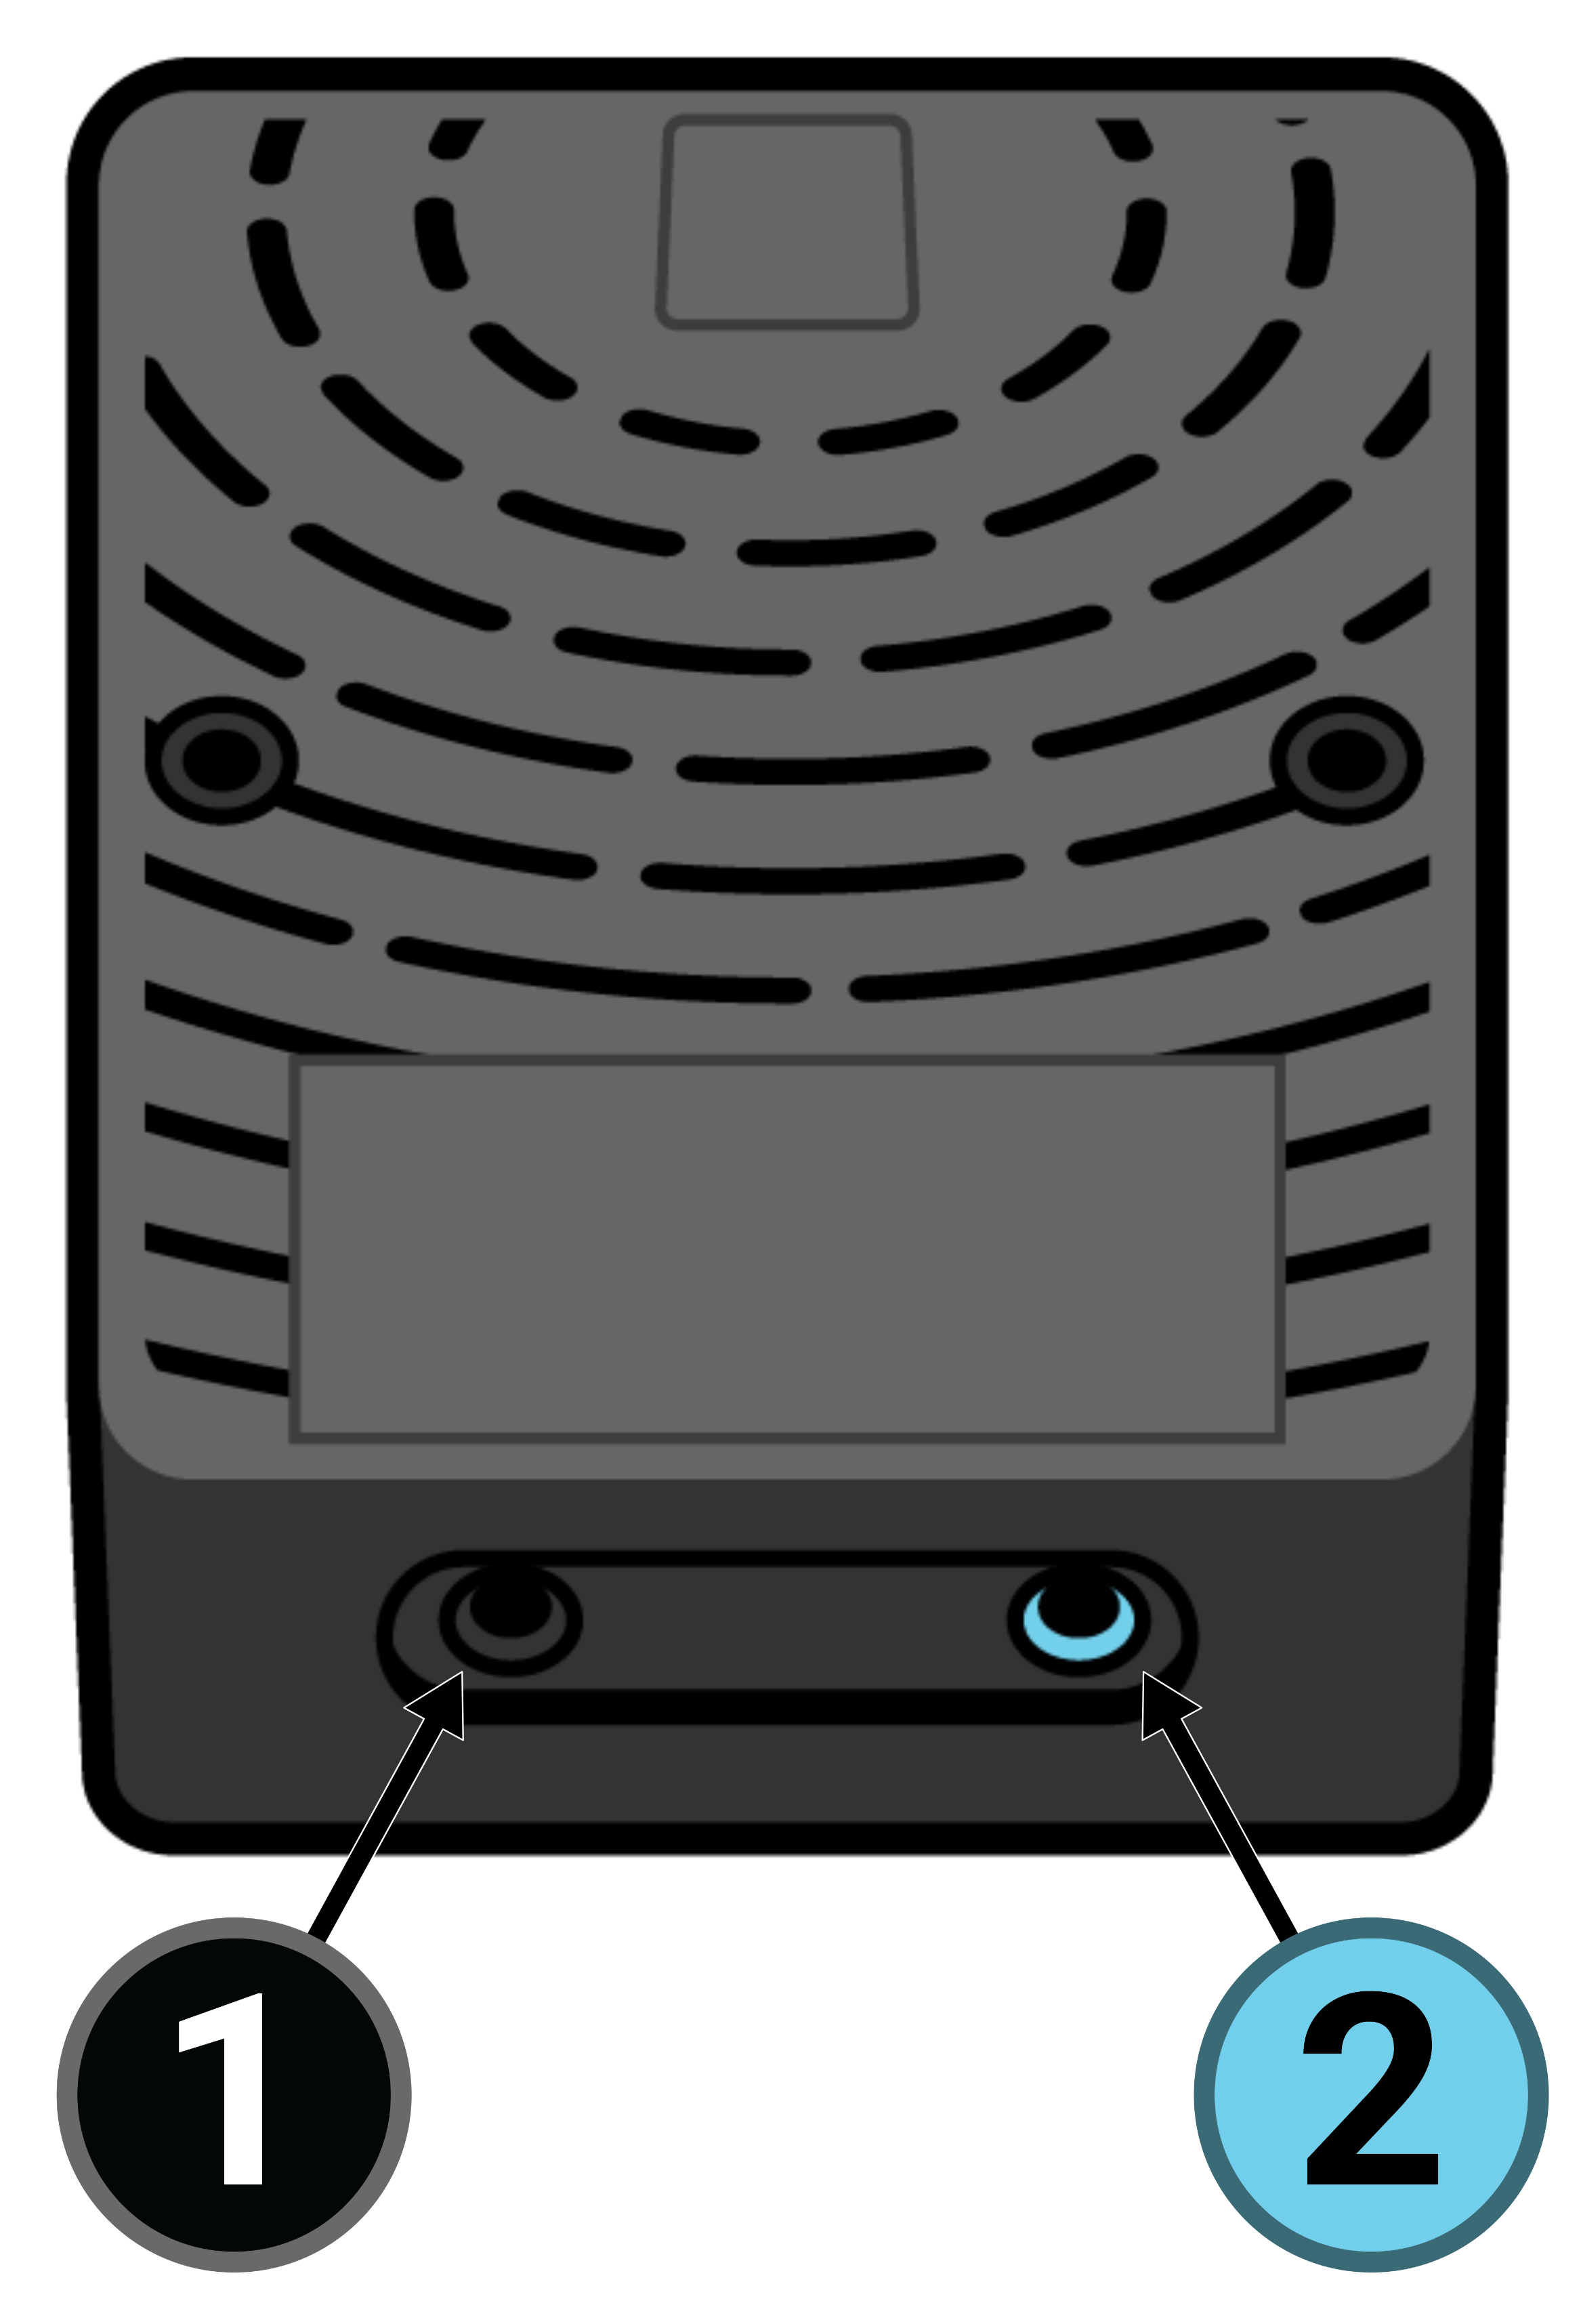
Ensure the sensor plug with the black cable (the sensor on the left side of the bed) gets firmly inserted into the black sensor port (1) on the processor, and the sensor plug with the blue cable (the sensor on the right side of the bed) gets firmly inserted into the blue sensor port (2) on the processor. Left vs. right is based on your viewpoint when you're standing at the foot of the bed and facing the head of the bed.
If your bed has two bases:
Ensure the sensor cable coming from the left-base (1) gets firmly inserted into the black sensor port on the left-base processor, and the sensor cable from the right-base (2) gets firmly inserted into the black sensor port on the right processor. Left vs. right is based on your viewpoint when you're standing at the foot of the bed and facing the head of the bed.
