Step 1: Prepare
- You will need a Phillips-Head Screwdriver (size #1 works best).
- Review the Hardware Overview Guide.
Step 2: Locate
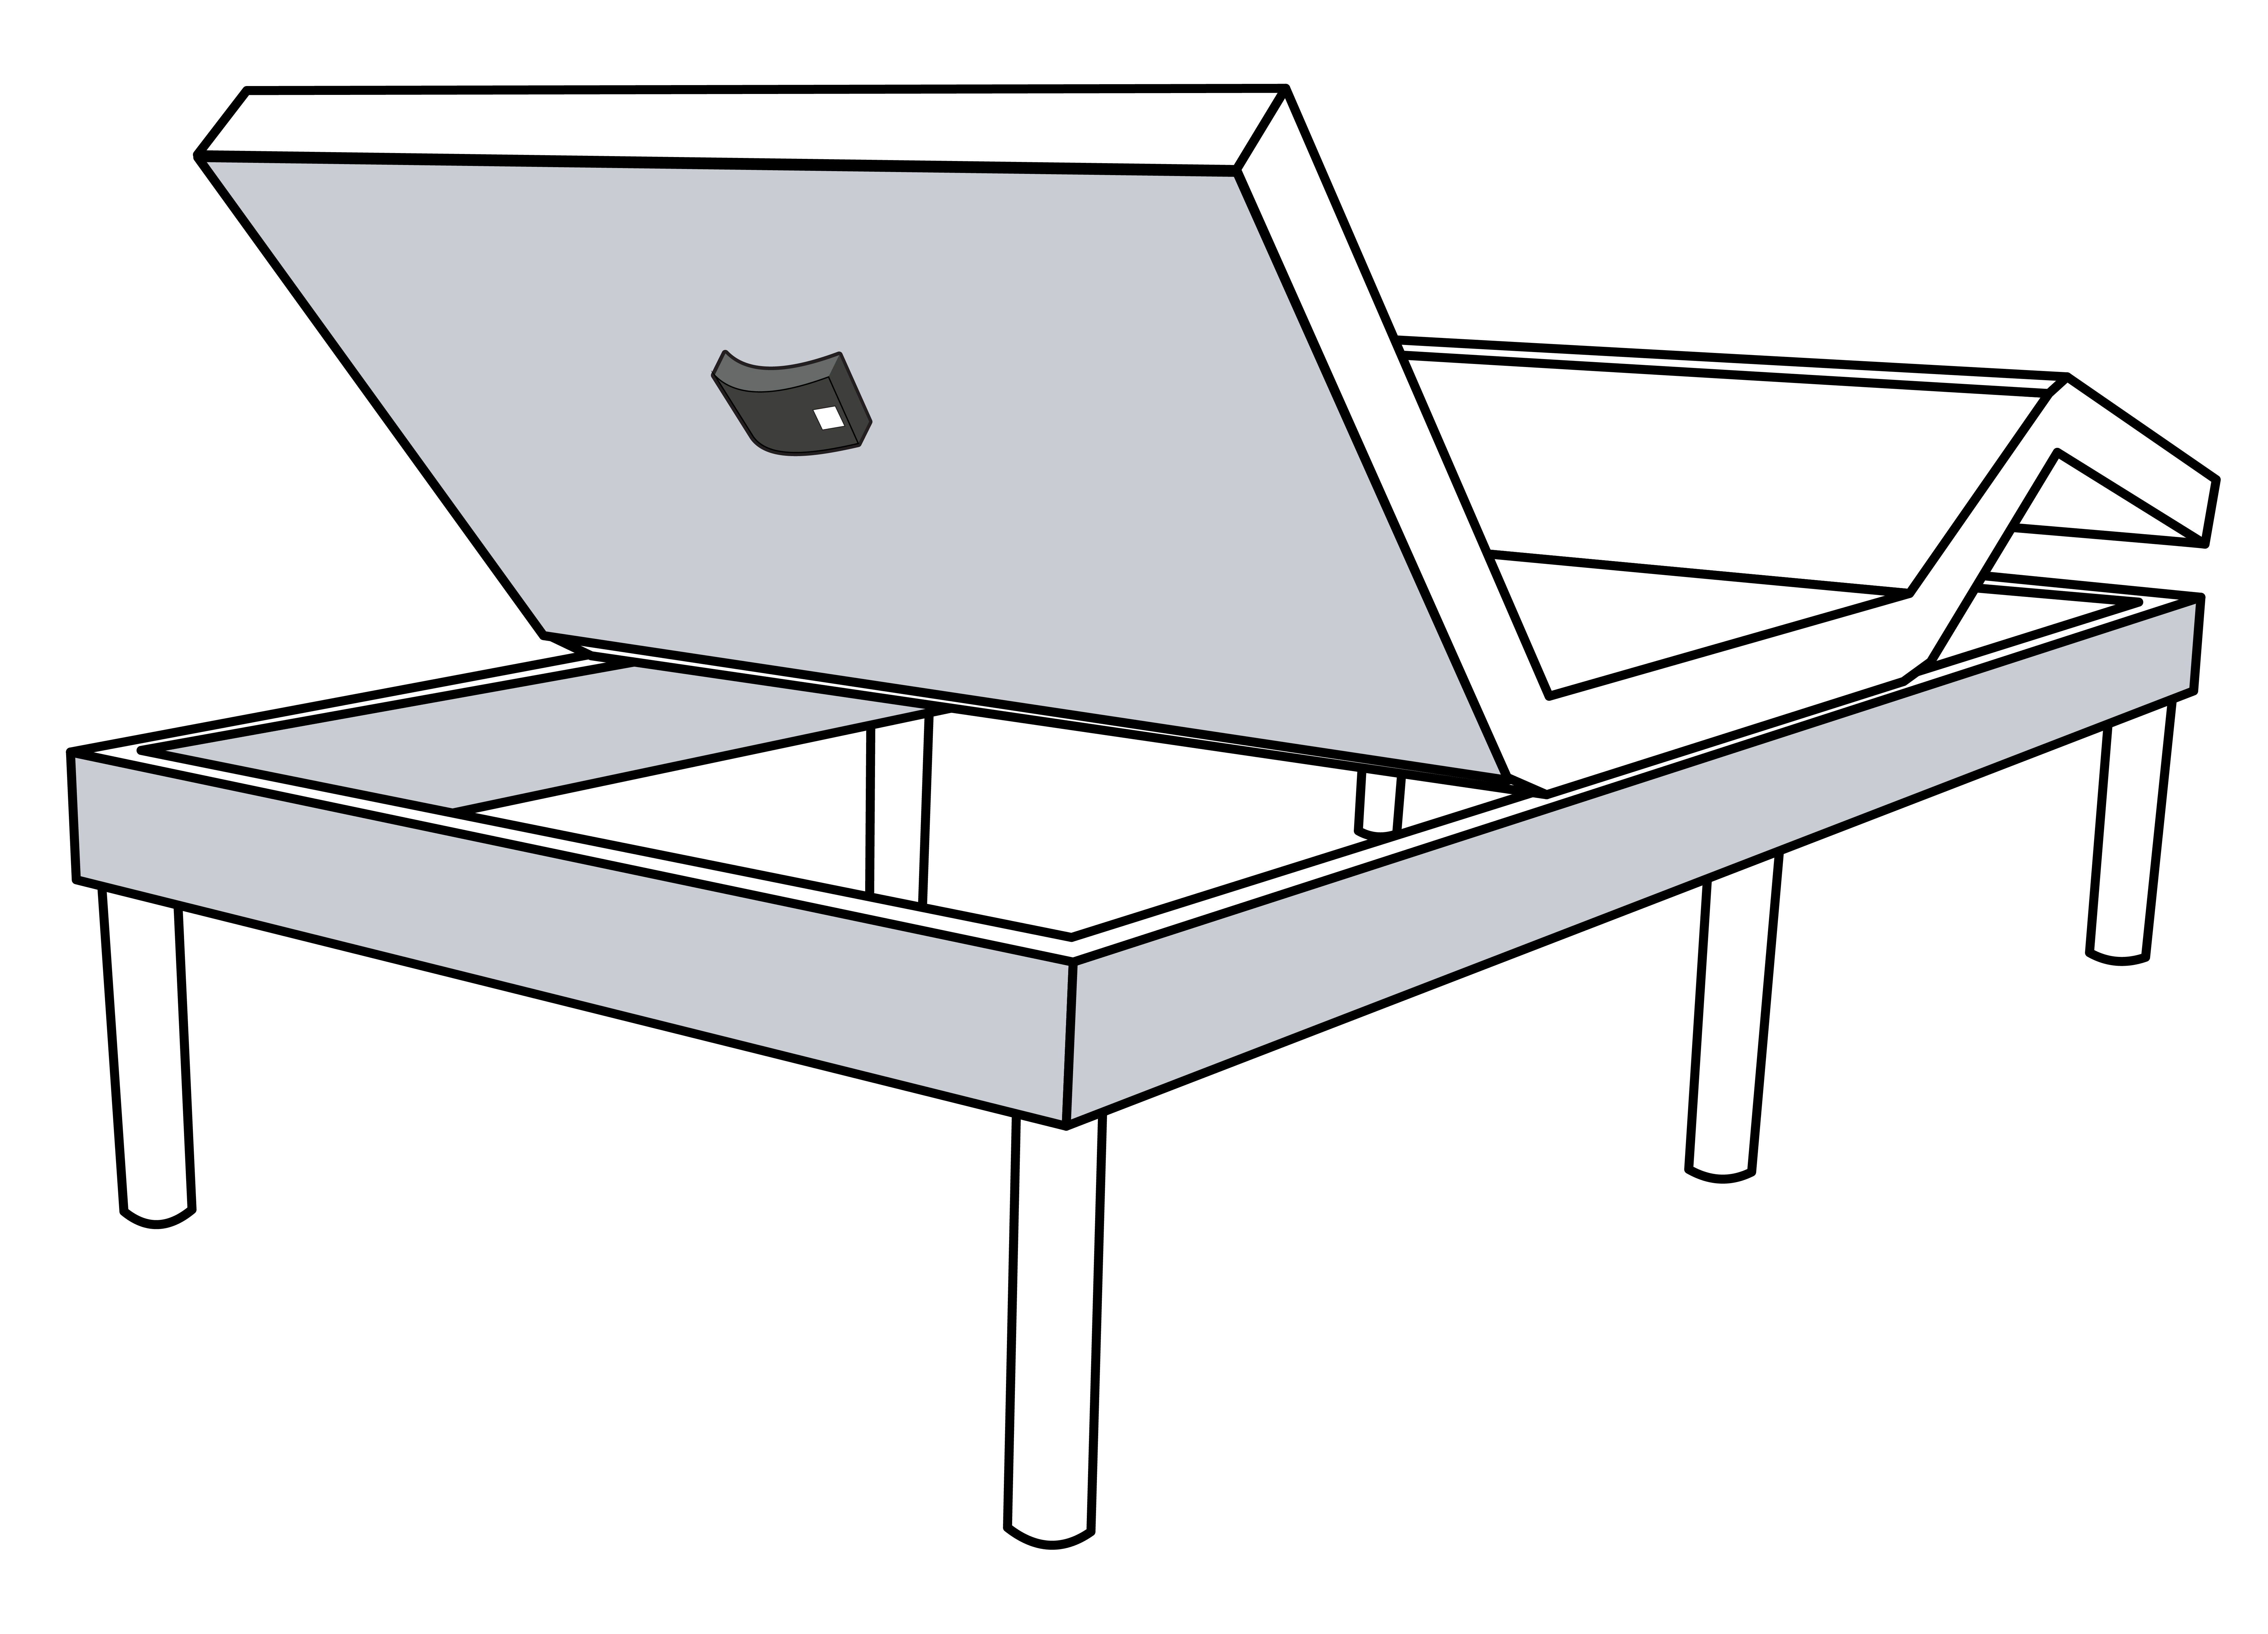
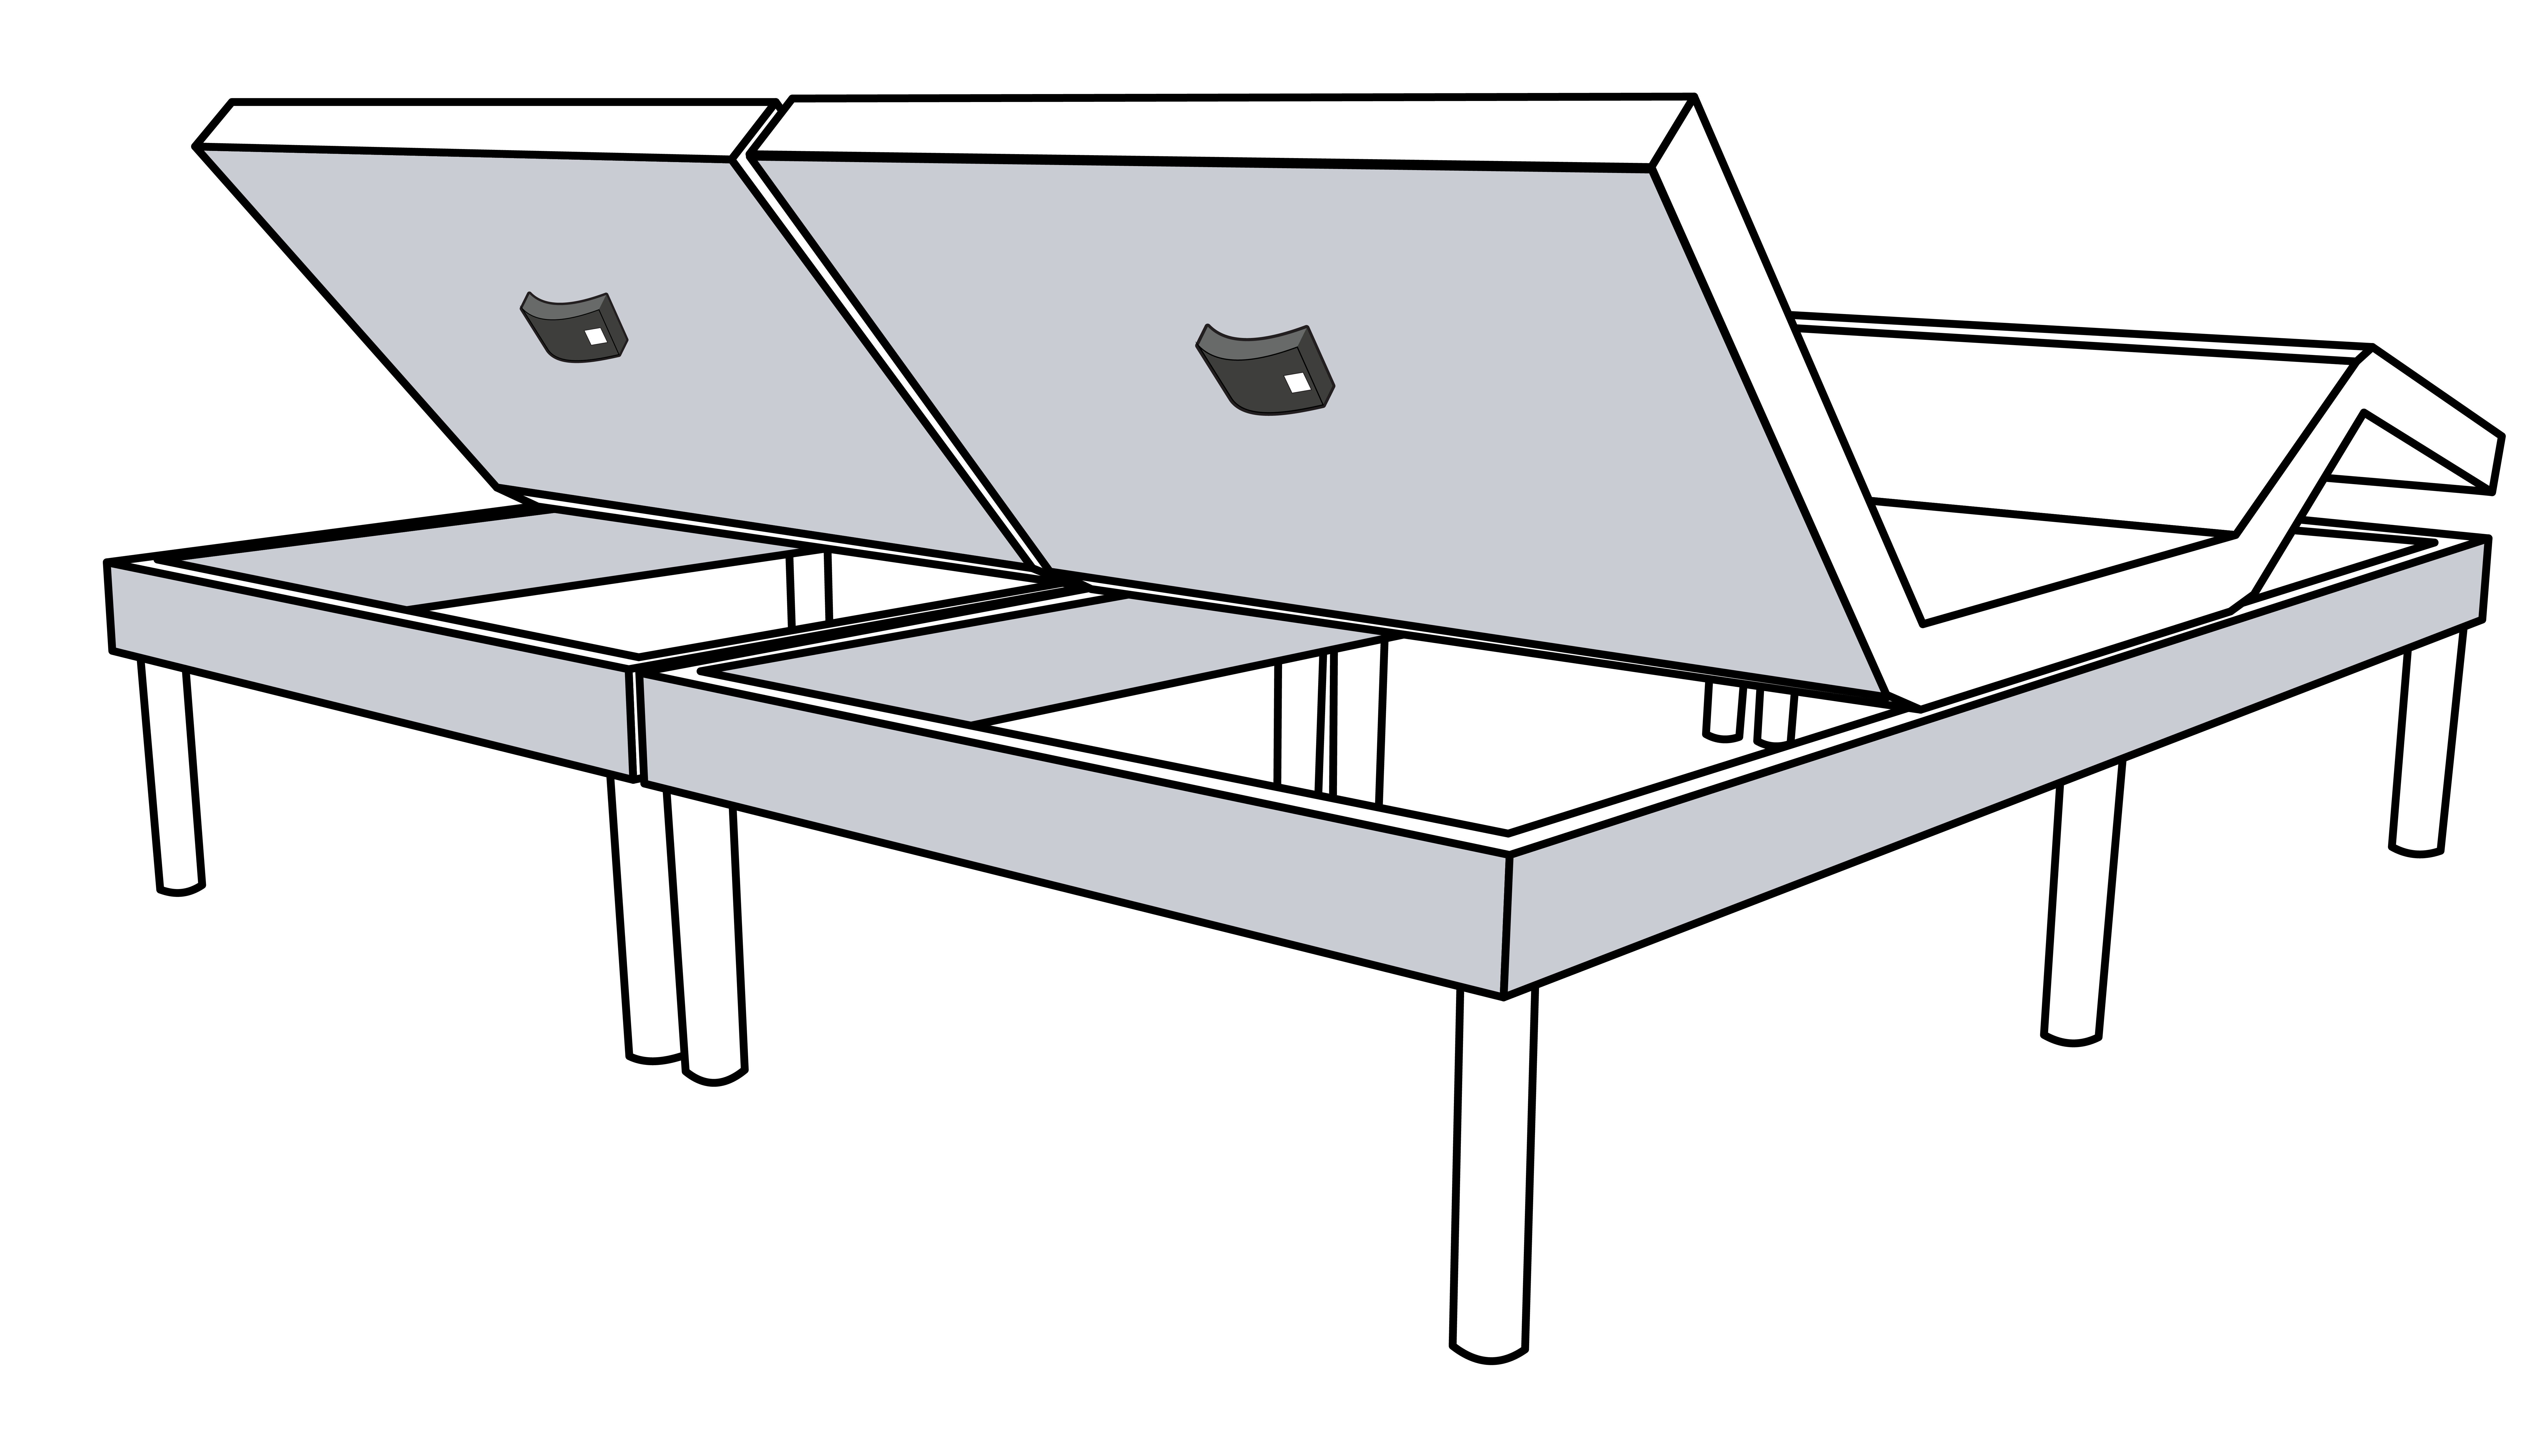
Your processor should be mounted underneath the head of the base. Using your remote, raise the head of the base all the way up to make the processor easier to locate.


Step 3: Remove
Using a Phillips-Head Screwdriver, remove both screws from the processor. Keep the screws in order to use them later.

Unplug the processor's USB cable and unplug the sensor plug(s). Set this processor aside.


Step 4: Install
If the bed has a single base with one sensor:
- Line up the processor with the screw holes in the base, and fasten the screws. Plug the processor's USB cable into the USB extension cable. Insert the sensor plug into the black sensor port on the processor.
If the bed has a single base with two sensors:
- Line up the processor with the screw holes in the base, and fasten the screws. Plug the processor's USB cable into the USB extension cable. Insert the sensor plug with the black cable (the sensor on the left side of the bed) into the black sensor port, and insert the sensor plug with the blue cable (the sensor on the right side of the bed) into the blue sensor port on the processor. Left vs. right is based on your viewpoint when you're standing at the foot of the bed and facing the head of the bed.
If the bed has two bases:
- Line up the processor with the screw holes in the base, and fasten the screws. Plug the processor's USB cable into the USB extension cable. Ensure the sensor on the left-base is plugged into the black sensor port on the left-base processor, and ensure the sensor on the right-base is plugged into the black sensor port on the right-base processor. Left and right is based on your orientation when you're standing at the foot of the bed and facing the head of the bed.
- If you are only replacing one of the two processors, you will need to factory-reset the other processor before continuing.
Wait for a blinking green status light on your new processor before continuing.
Step 5: Sticker Replacement
The replacement processor should come with a new sticker attached. Remove the new sticker and place it over the old sticker on the long black hang-tag at the head of the bed. If you don't have a long black hang-tag, place the new sticker over the QR Code on the replacement processor.
Step 6: App Setup
Pair the Smart Bed to your account in the Tempur Sleeptracker-AI app. To do so, select Menu > Pair with a Smart Bed > Setup new Sleeptracker-AI Smart Bed, and then follow the instructions in the app. When the app prompts you to scan the QR code, be sure to scan the QR code that is located on your new processor.